You’ve spent months– maybe years— mastering a specific skill to create uniquely handcrafted items. But even after all that time and effort, you may still feel overwhelmed at the thought of opening your own online shop.
Don’t let fear stand in your way! A successful online store is all about following the right steps from start to first sale to massive scale. We’ve got everything you need to know right here.
1. Choose a Niche.
You don’t need to appeal to the masses but to establish yourself as an authority within a specific area. Trying to offer a huge variety of products makes it more difficult for everyone involved: you’ll quickly feel overwhelmed, and your customers will struggle to connect with you.
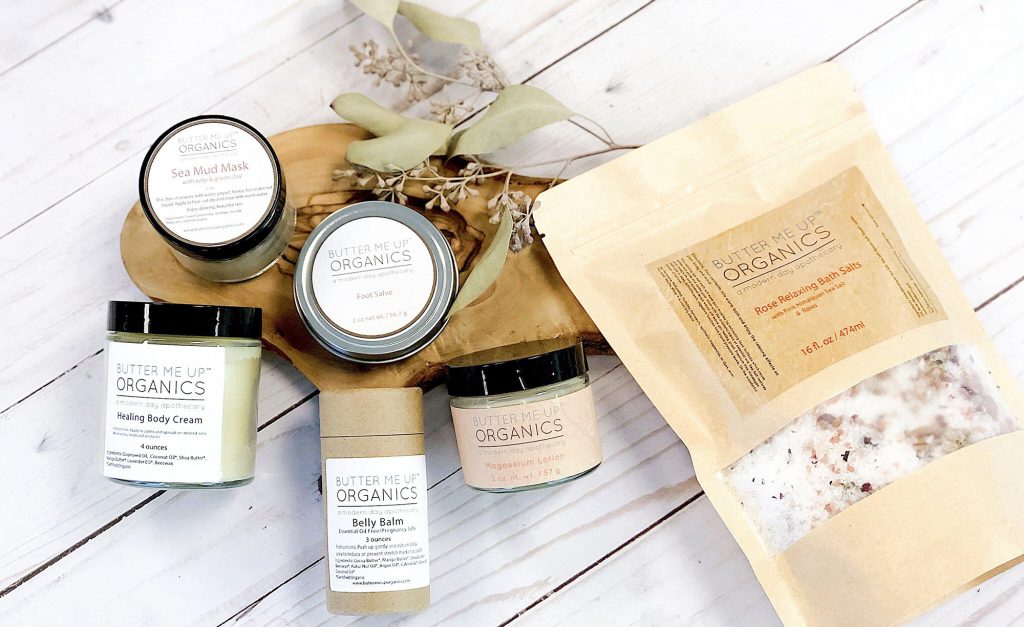
Instead of going the general store route, choose a niche where you’re an expert. Often, you can find ways to create variety within that niche. For example, Butter Me Up Organics sells handcrafted beauty products that are all free of synthetic ingredients and fragrances but address wellness needs. Her shop is full of organic lotions, scrubs, sprays, candles, and balms.

2. Choose Where to Sell
While you can definitely create your own website, it’s often beneficial to sell on a reputable online marketplace. Although you may pay a small fee, you have access to a much larger audience. In addition, you can skip the costs and headaches that come with maintaining your own website, such as domain costs, web hosting, and site design.
If you’re looking for the best of both worlds– a private website and a shop on a larger marketplace— consider using MOSAIC by goimagine. A MOSAIC shop is a privately branded website that also posts your products to goimagine’s growing marketplace. That said, you only need to manage one seller dashboard with your inventory displaying on your own website and goimagine at the same time. It’s like managing one website…but getting two!


3. Build a Brand
A strong brand is critical to help you attract customers and gain repeat customers. Branding isn’t just about the looks of your online store but how it makes shoppers feel. While you don’t have to share deeply personal information, telling shoppers the ‘why’ behind your brand establishes trust and builds a deeper connection.
In creating your branding, include:
- Brand mission and values
- The origin story behind your brand
- Words that describe your brand
- What differentiates you from your competitors
- The voice you want to use in marketing
- Logo, brand colors, brand fonts
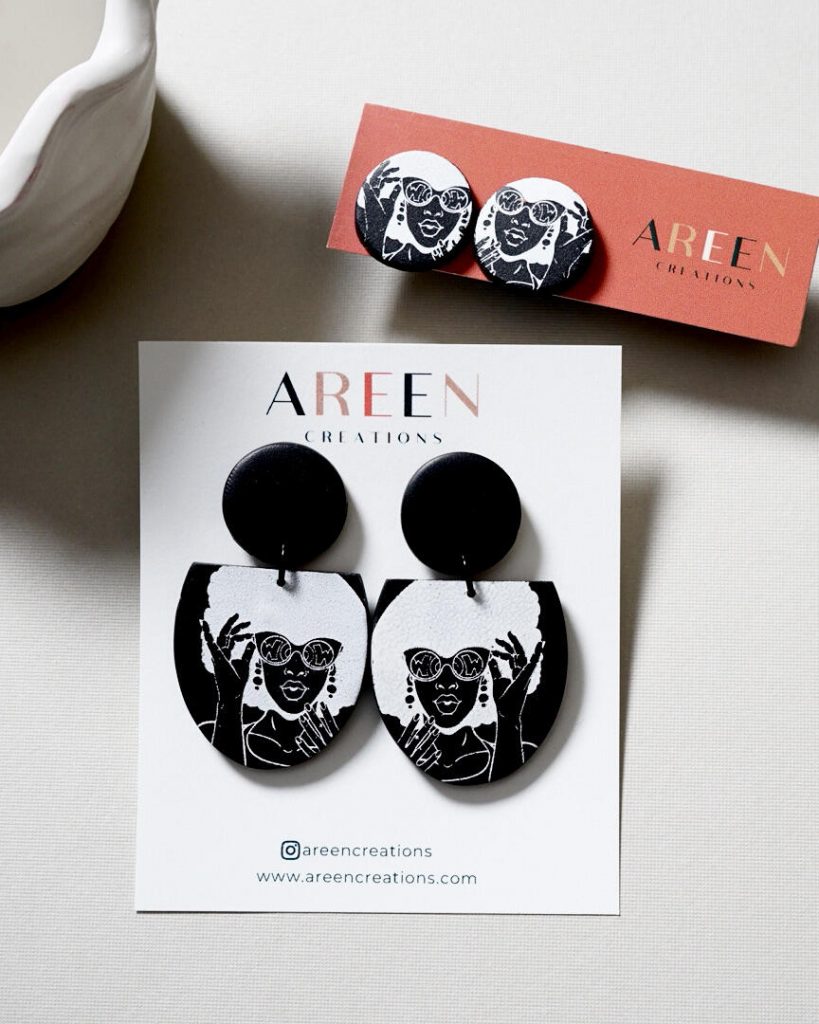
Areen Creations did a great job of making their branding fit beautifully with their product. It makes the shop look cohesive and inviting.

4. Find Your Sweet-Spot Pricing
Begin by considering the cost of materials, labor, and packaging. You want to cover these costs and make a profit with each sale— even when you’re offering sales and discounts. Do some research into the pricing of similar shops and products. From there, you can determine where you want to set your prices.
Reminder, do not forget to factor in your time. You pour your blood, sweat, and tears into creating your handmade goods, and you deserve to be compensated for that.

5. Take Quality Photos of Each Product
You don’t have to invest in an expensive camera to take great photos of your products— 99% of the time, a smartphone is all you need! Here are a few guidelines for high-quality photos that your customers will appreciate:
- Use a room with good lighting for your photo shoot. Natural light from a well-lit window is key. For softer light with darker shadows, take your snaps closer to the window. If you want lighter, sharper shadows, be sure to move further from the window.
- Create a simple backdrop out of posterboard or use white paper or fabric sweep. This helps your images look crisp and presents your products in the most professional way. You can also use white bounce boards to balance your lighting and minimize shadows.
- Take photos from multiple perspectives and distances. Shoppers love to see all the angles of a product as well as the little details you’ve worked so hard to include!
- Skip using the zoom features (it reduces the quality of photos), the flash (which often leads to overexposure), and the selfie camera (which is typically lower quality than the back camera).
- If you use an app to edit your photos, make minor tweaks to brightness, sharpness, contrast, and shadows, then save your changes as a preset so all of your photos look uniform.
- Make sure your listings include multiple styles of shots that all work cohesively.
Keeping the same photography style throughout your listings will help your shop feel cohesive to a shopper. Consider using different types of photos in each listing to show your products in the best possible way. Remember, when customers shop online, they can’t hold, touch or see in person, so showing them visually through photos help them visualize owning the item.
Consider the following types of shots:
- Lifestyle or Styled Shot: A shot showing the product in use or styled in a way that the customer can picture the product in their own space. See example shots from Milli’s Hook Nook


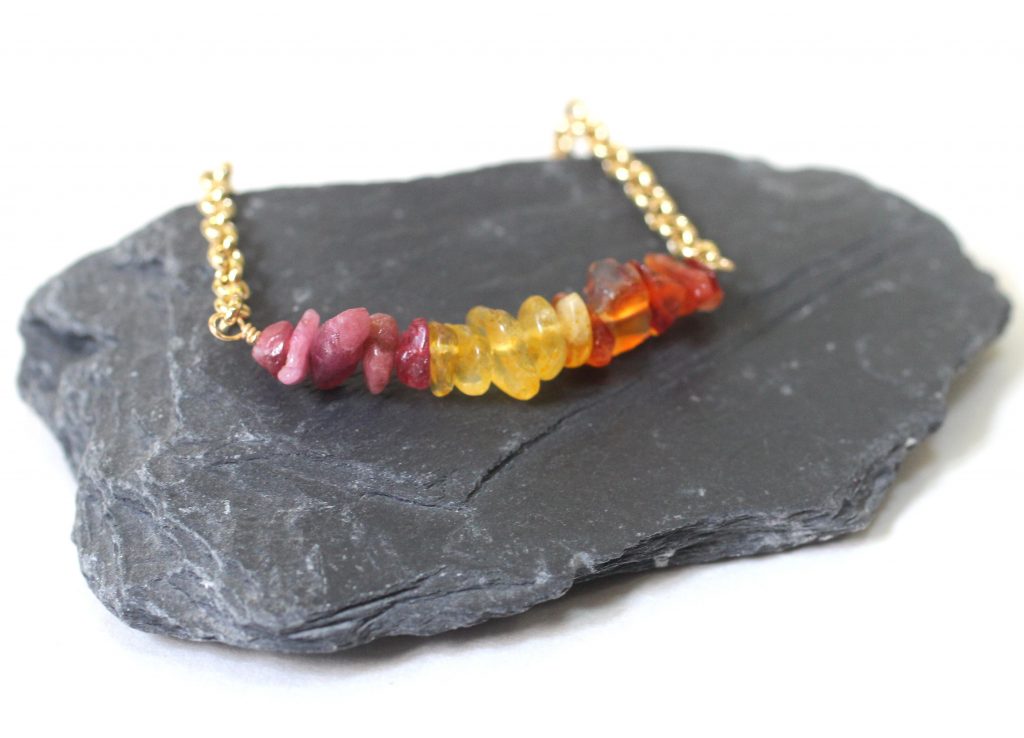
- Studio Shot: A shot of your product on a plain, uncluttered background. This does not always mean white. Use a background that compliments your product and matches your branding. Check out these shots by Color Garden Jewelry:

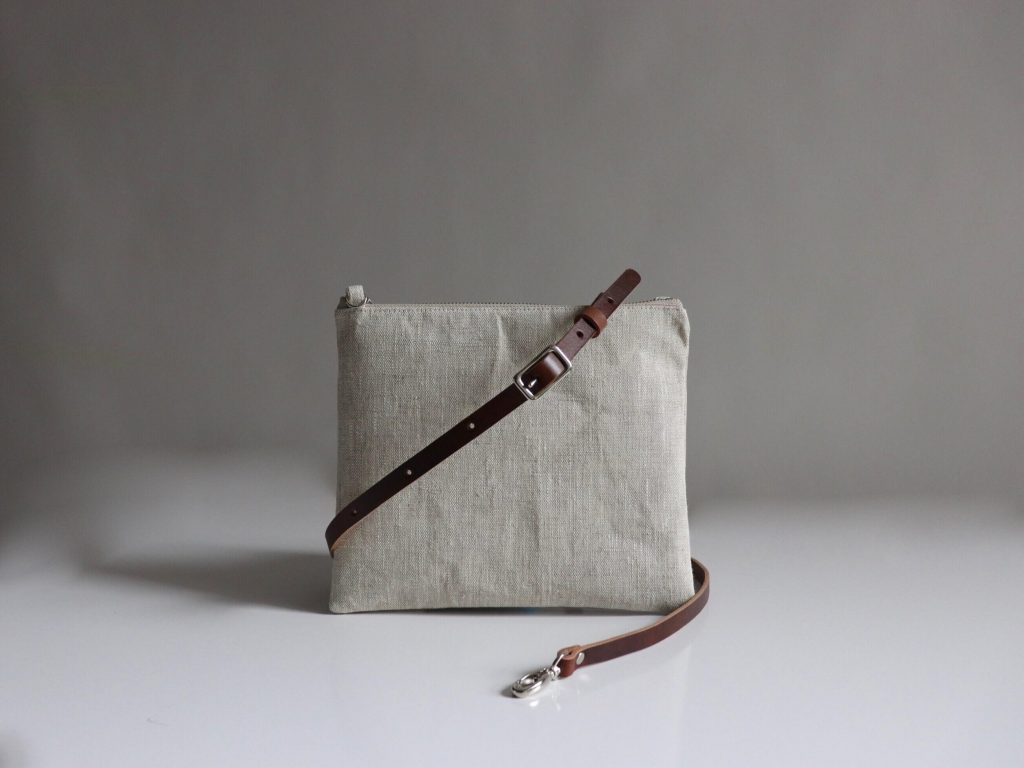
- Detail Shots: Close-up shots that show the fine details of your product. Handmade products are unique, and the details make a huge difference. For example, Independent Reign shows an up-close image of the buckle on this crossbody bag.

- Scale Shots: A shot that tells the customer how big or small your product is. This is particularly important for things such as jewelry or home decor. For example, this necklace by Ever Aster. It’s extremely hard to tell the size just by looking at it in its packaging without showing the item being worn.


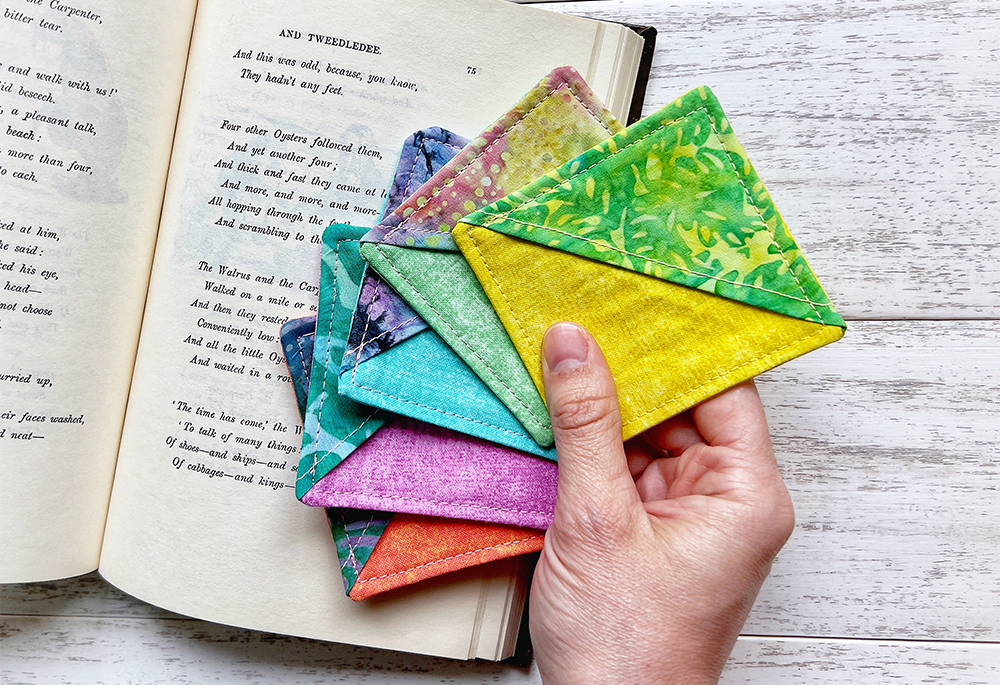
- Group Shots: Group shots are especially great if you sell items in multiples or collections. For example, if you’re selling ceramic bowls, consider showing a set of them stacked. Or, perhaps you’ve created a collection of jewelry that pairs well together; show the group. These types of shots are not only great for your listings but work great for marketing as well.
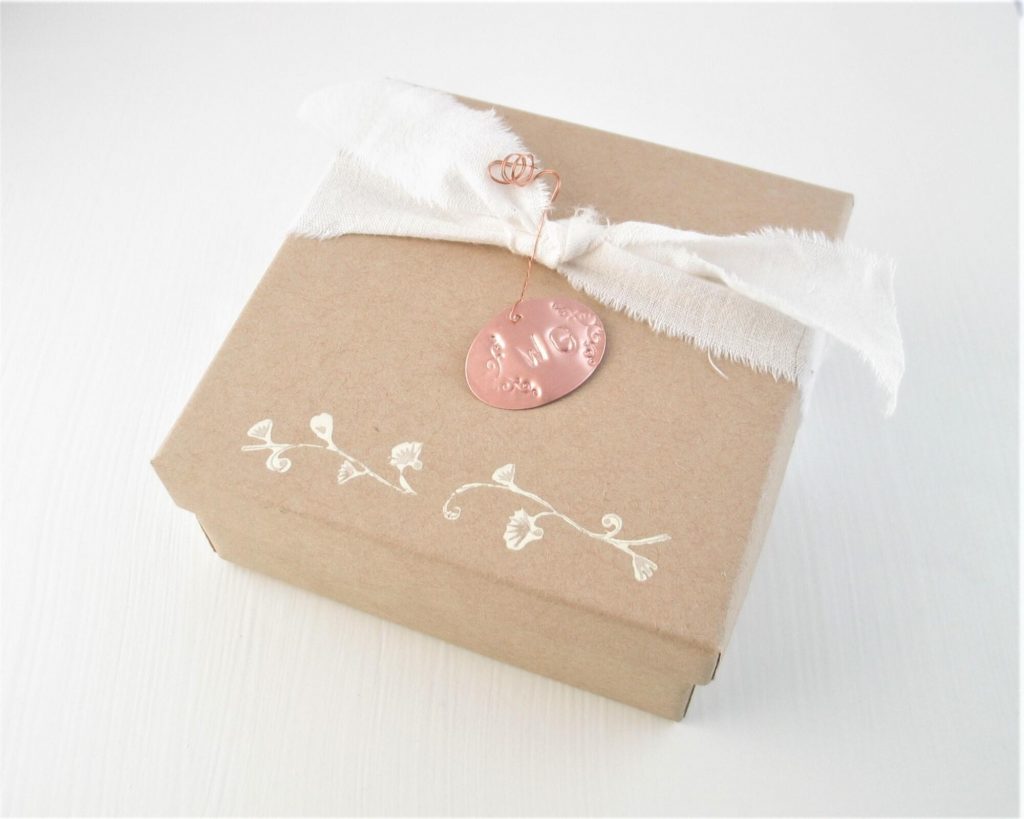
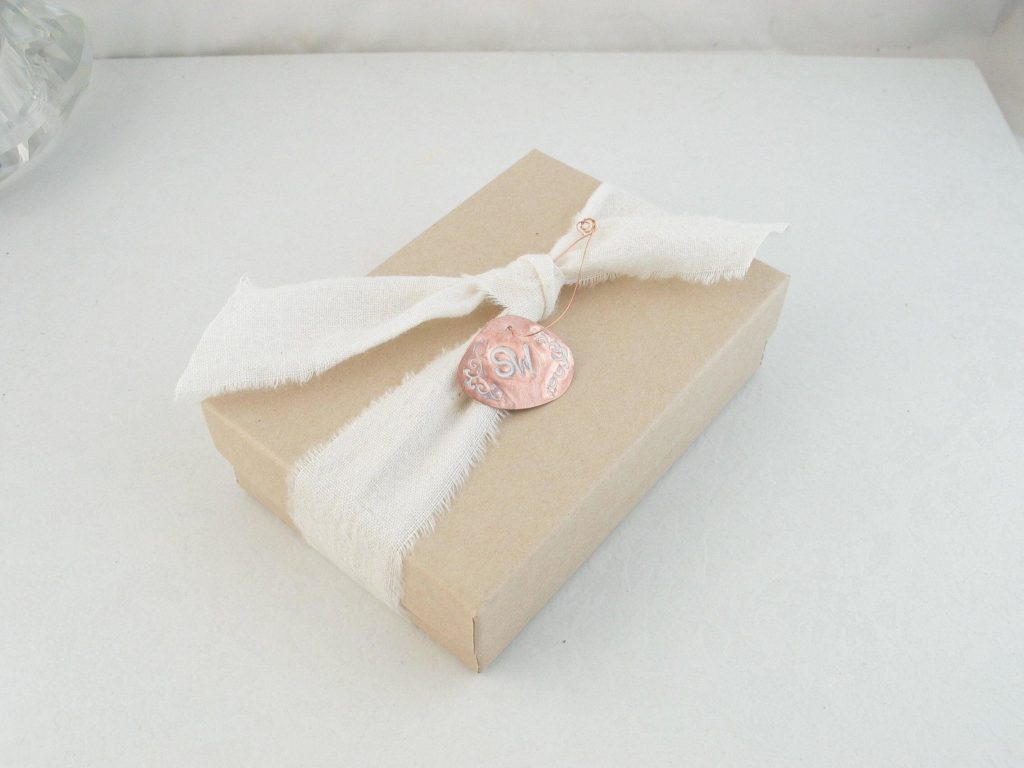
- Packaging Shot: This is another way to convey your branding through images. It may also help customers visualize giving your item as a gift. A great example is this packaging by Wild Gatherings.
6. Create Irresistible Product Titles and Descriptions.
Enticing titles and descriptions speak to your ideal customer. Consider:
- What problem does your product solve?
- What do buyers gain by purchasing your product?
- How are you different from competitors?
Your product title should be concise and easy to read. Include words a shopper might use to discover your product and use those within the title. Utilizing these keywords will help you be found both within the Go Imagine search engine and by Google.
When you create your description, focus on benefits over features. Sellers are more interested to hear that they’ll get approximately 60 scrubs from your handcrafted soap than to learn the dimensions of each bar. Use sensory words to describe what your customers will experience when using your product, and don’t be afraid to utilize bullet points to make your description easier to scan.
When you’re done writing, always run your descriptions through a spellchecker. A plugin like Grammarly will check not only your spelling but also your grammar and punctuation, offering suggestions to improve any issues it notices. We promise you can be both individualistic and professional!
Check out this product description from Baby Whatknots. It highlights how easy it is to clean and transport the dolls, as well as their role in creative play and their ability to be an heirloom item. What parent could resist such a sales pitch?

7. Invest in Growing Your Social Media
It’s 2023— social media is almost a requirement if you want to scale your business. In fact, customers spend an average of 20-40% more with brands that engage them through social media, and 77% of millennials have purchased a product after seeing it on Facebook.
But with everything else you’re doing to manage your small business, maintaining a social media presence can quickly feel overwhelming. Remedy this by creating a social media marketing plan and making it a consistent part of your business rather than an afterthought you get to only when it’s convenient.
Start by choosing one or two channels you’re willing to create content for. The good news is that you don’t have to create unique content for each channel— or even post separately for each account. You can typically sync accounts so that what you post to one goes to multiple channels. For example, after linking an Instagram and Facebook account, what you post to Instagram can go straight to your Facebook page once it’s uploaded. TikTok videos can often be used as Instagram reels. It’s okay– even wise– to double-dip wherever you can!
To make the most of your social media presence—
- Create a schedule that includes time to create and post content as well as time to interact with other accounts and your followers.
- Use relevant hashtags to target niches where your customers will probably be.
- Stick to a 3:1 ratio, sharing one selling-oriented post for every three useful posts. For example, if you sell oil paintings, you might share a post about how to realistically paint a sunset, a post about ideal color combinations, and a post about what brushes you use to paint specific flowers, then advertise a painting you recently listed in your shop.
We’ve loved seeing Danielle Giese Jewelry’s recent Meet the Maker series on Instagram, done in an effort to share about the seller, her work, and her inspiration!

8. Actively Maintain Your Online Shop
An online store isn’t a ‘set it and forget it kind of thing. Success requires daily engagement: updating your listings, responding to customer messages, and interacting on social media. With time you’ll establish a balance between creating your handcrafted products and selling them through your online shop.
Are You Ready to Start Selling Your Handmade Goods?
Are you ready to start selling your handcrafted goods online? We’d love to be a part of your journey! When you open a shop on goimagine, you join our community of makers and artists working together to build a better world through handmade.
Goimagine gives sellers a better place to run their businesses. We offer low fees and give sellers the piece of mind of knowing that our profit goes to help children in need.
Your seller membership also comes with:
- Access to the Maker Circle Community (via the iPhone or Android App)
- A handmade shop on the goimagine marketplace
- Privately Branded Stand-Alone Website*
- Access to the Maker Business Academy*
- Etsy import capability
- State sales tax remittance
It’s never too late to get started! You can apply to be a member right here.
* Features only available on select plans. See the membership page for complete plan details.

Katie is a freelance writer focused on creating engaging copy and content that gets found (hello, SEO strategies) and gets read (hello, audience engagement). If she’s not at her computer, you can probably find Katie baking in the kitchen with her three-year-old tornado or reading the latest thriller on the back porch.
