About this Product
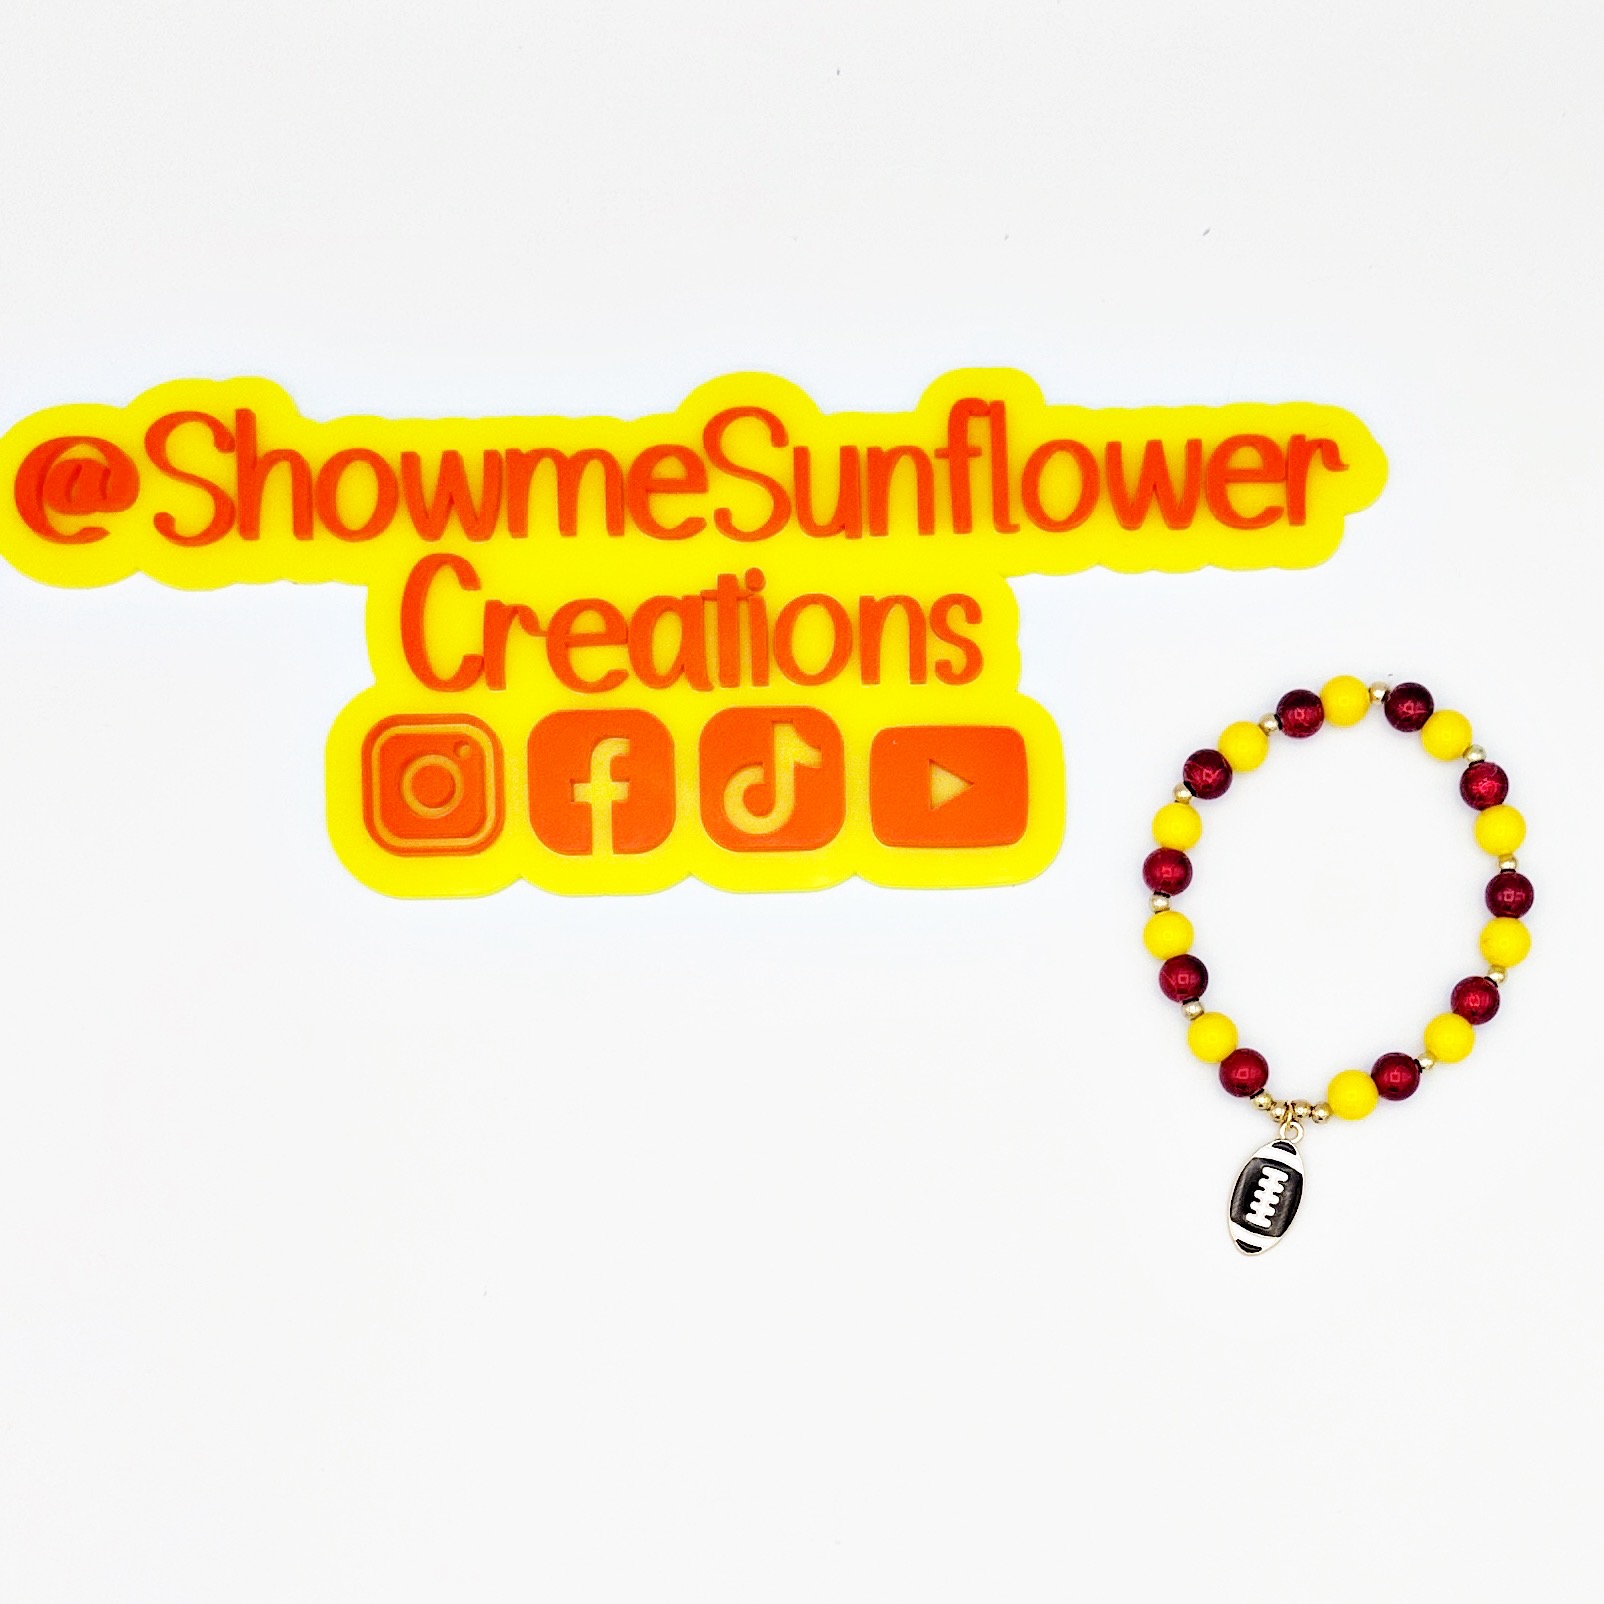
Check out this beautiful handmade bracelet! It features vibrant 8mm red and yellow glass beads, stylish gold ball spacers, and a charming gold football centerpiece. Perfect for adding team spirit and support to any outfit!
Showme Sunflower Creations

Meet the Maker
I am a Social Worker by day and DIY'ER and Crafter by night and weekends. I started crafting as a way to show my love and appreciation for others through handmade gifts for Birthdays, Christmas, Anniversaries and other holidays and occasions. What started out as a hobby and interest has now turned into newly established business and love for creating. I mainly focus on beaded and sublimated items such as bracelets, keychains, badge reels, pens, necklaces, t-shirts, mugs, tumblers, mouse pads, and totes. As time goes on and business picks up I hope to incorporate other crafts and items.
At Showme Sunflower Creations, I pour my heart and soul into handcrafting each unique item. My passion for creating beautiful, one-of-a-kind pieces is matched only by my commitment to quality and attention to detail. Every bead is carefully selected, and every design is thoughtfully crafted to ensure that my creations not only add a touch of elegance to your style but also reflect the uniqueness of your personality. With a focus on creativity and a dedication to excellence, I strive to bring joy and confidence to each person who wears my handmade treasures. Join me in celebrating individuality and embracing the beauty of handcrafted artistry.

How it’s Made
Materials Needed:
8mm red glass beads
8mm yellow glass beads
Gold ball spacer beads
Gold football charm (centerpiece)
0.7mm clear elastic stretch cord
Hypo cement (for securing the knot)
Scissors
Measuring tape
Beading needle (optional)
Step-by-Step Instructions:
1. Measure and Cut the Elastic Cord
Start by measuring your wrist (or the wrist of the intended wearer). Standard bracelet sizes are between 6-7 inches.
Cut a piece of 0.7mm clear elastic stretch cord that is 4-6 inches longer than your wrist measurement. This extra length helps with tying the knot later.
2. String the Red and Yellow Beads
Begin threading your 8mm red glass beads onto the elastic cord.
Next, thread the yellow glass beads. You can alternate between red and yellow beads to create a fun, colorful pattern. For example, alternate two red beads, two yellow beads.
3. Add the Gold Ball Spacer Beads
As you continue stringing the red and yellow beads, add a few gold ball spacer beads for style.
A possible pattern could be alternating every three beads (e.g., red, yellow, gold spacer, repeat).
4. Incorporate the Gold Football Charm
When you’ve strung about half of the beads, add the gold football charm as the centerpiece of the bracelet.
Once the charm is threaded, continue alternating your bead and spacer pattern on the other side to match.
5. Finish Beading
Keep threading beads and spacers until the bracelet reaches your desired length, ensuring you maintain an even pattern.
6. Check the Fit
Before tying the bracelet, wrap it around your wrist to check for a comfortable fit. Make any necessary adjustments by adding or removing beads.
7. Tie the Bracelet with a Surgeon’s Knot
Once you’re happy with the fit, tie a surgeon’s knot to secure the bracelet:
Cross the ends of the elastic and tie an overhand knot.
Tie another overhand knot, this time passing one end through the loop twice before pulling tight.
Gently pull the ends to ensure the knot is secure.
8. Apply Hypo Cement
Apply a small dab of hypo cement to the knot for extra security.
Let the glue dry completely according to the instructions on the product.
9. Trim Excess Cord
Once the hypo cement is dry, carefully trim the excess elastic cord close to the knot, being careful not to cut too close to weaken it.
If possible, slide a nearby bead over the knot to hide it.
10. Final Check and Enjoy
Check that the beads are evenly spaced and that the knot is securely hidden.
Your beautiful, team-spirited bracelet is now complete and ready to add flair to any outfit!
Shop Policies
Processing time will be 3-5 days if item has to be made. If the item is already made and ready to ship out processing time will be 1-2 days.
Care instructions will be included with your item.
I do not offer any returns or refunds unless any of your items arrive damaged. If any items do arrive damaged you will have seven days from your order arrival date to report the issue to showmesunflowerceations@gmail.com. Note, all sales are final. You are responsible for verifying that your shipping address is correct and can receive packages. Showme Sunflower creations is not responsible for any accidental/unnaproved orders that you place. There will be no refunds for any address errors.
Important Notes for any Exchanges
To qualify for a damaged item exchange, you must send photo or video proof to showmesunflowercreations@gmail.com. No returns or exchanges will be processed without completing this step.
For all exchanges, please allow 5-10 business days to process.
Items in my shop are one of a kind and will have to be replaced with a similar item of the same category.
You will be responsible for paying for your own shipping costs for returning your item. Shipping costs are non-refundable. If you receive a refund, the cost of return shipping will be deducted from your refund.
Depending on where you live, the time it may take for your exchanged product to reach you may vary.
If you are returning more expensive items, you may consider using a trackable shipping service or purchasing shipping insurance. We don’t guarantee that we will receive your returned item.
Contact me at showmesunflowercreations@gmail.com for questions related to refunds and returns.


