About this Product
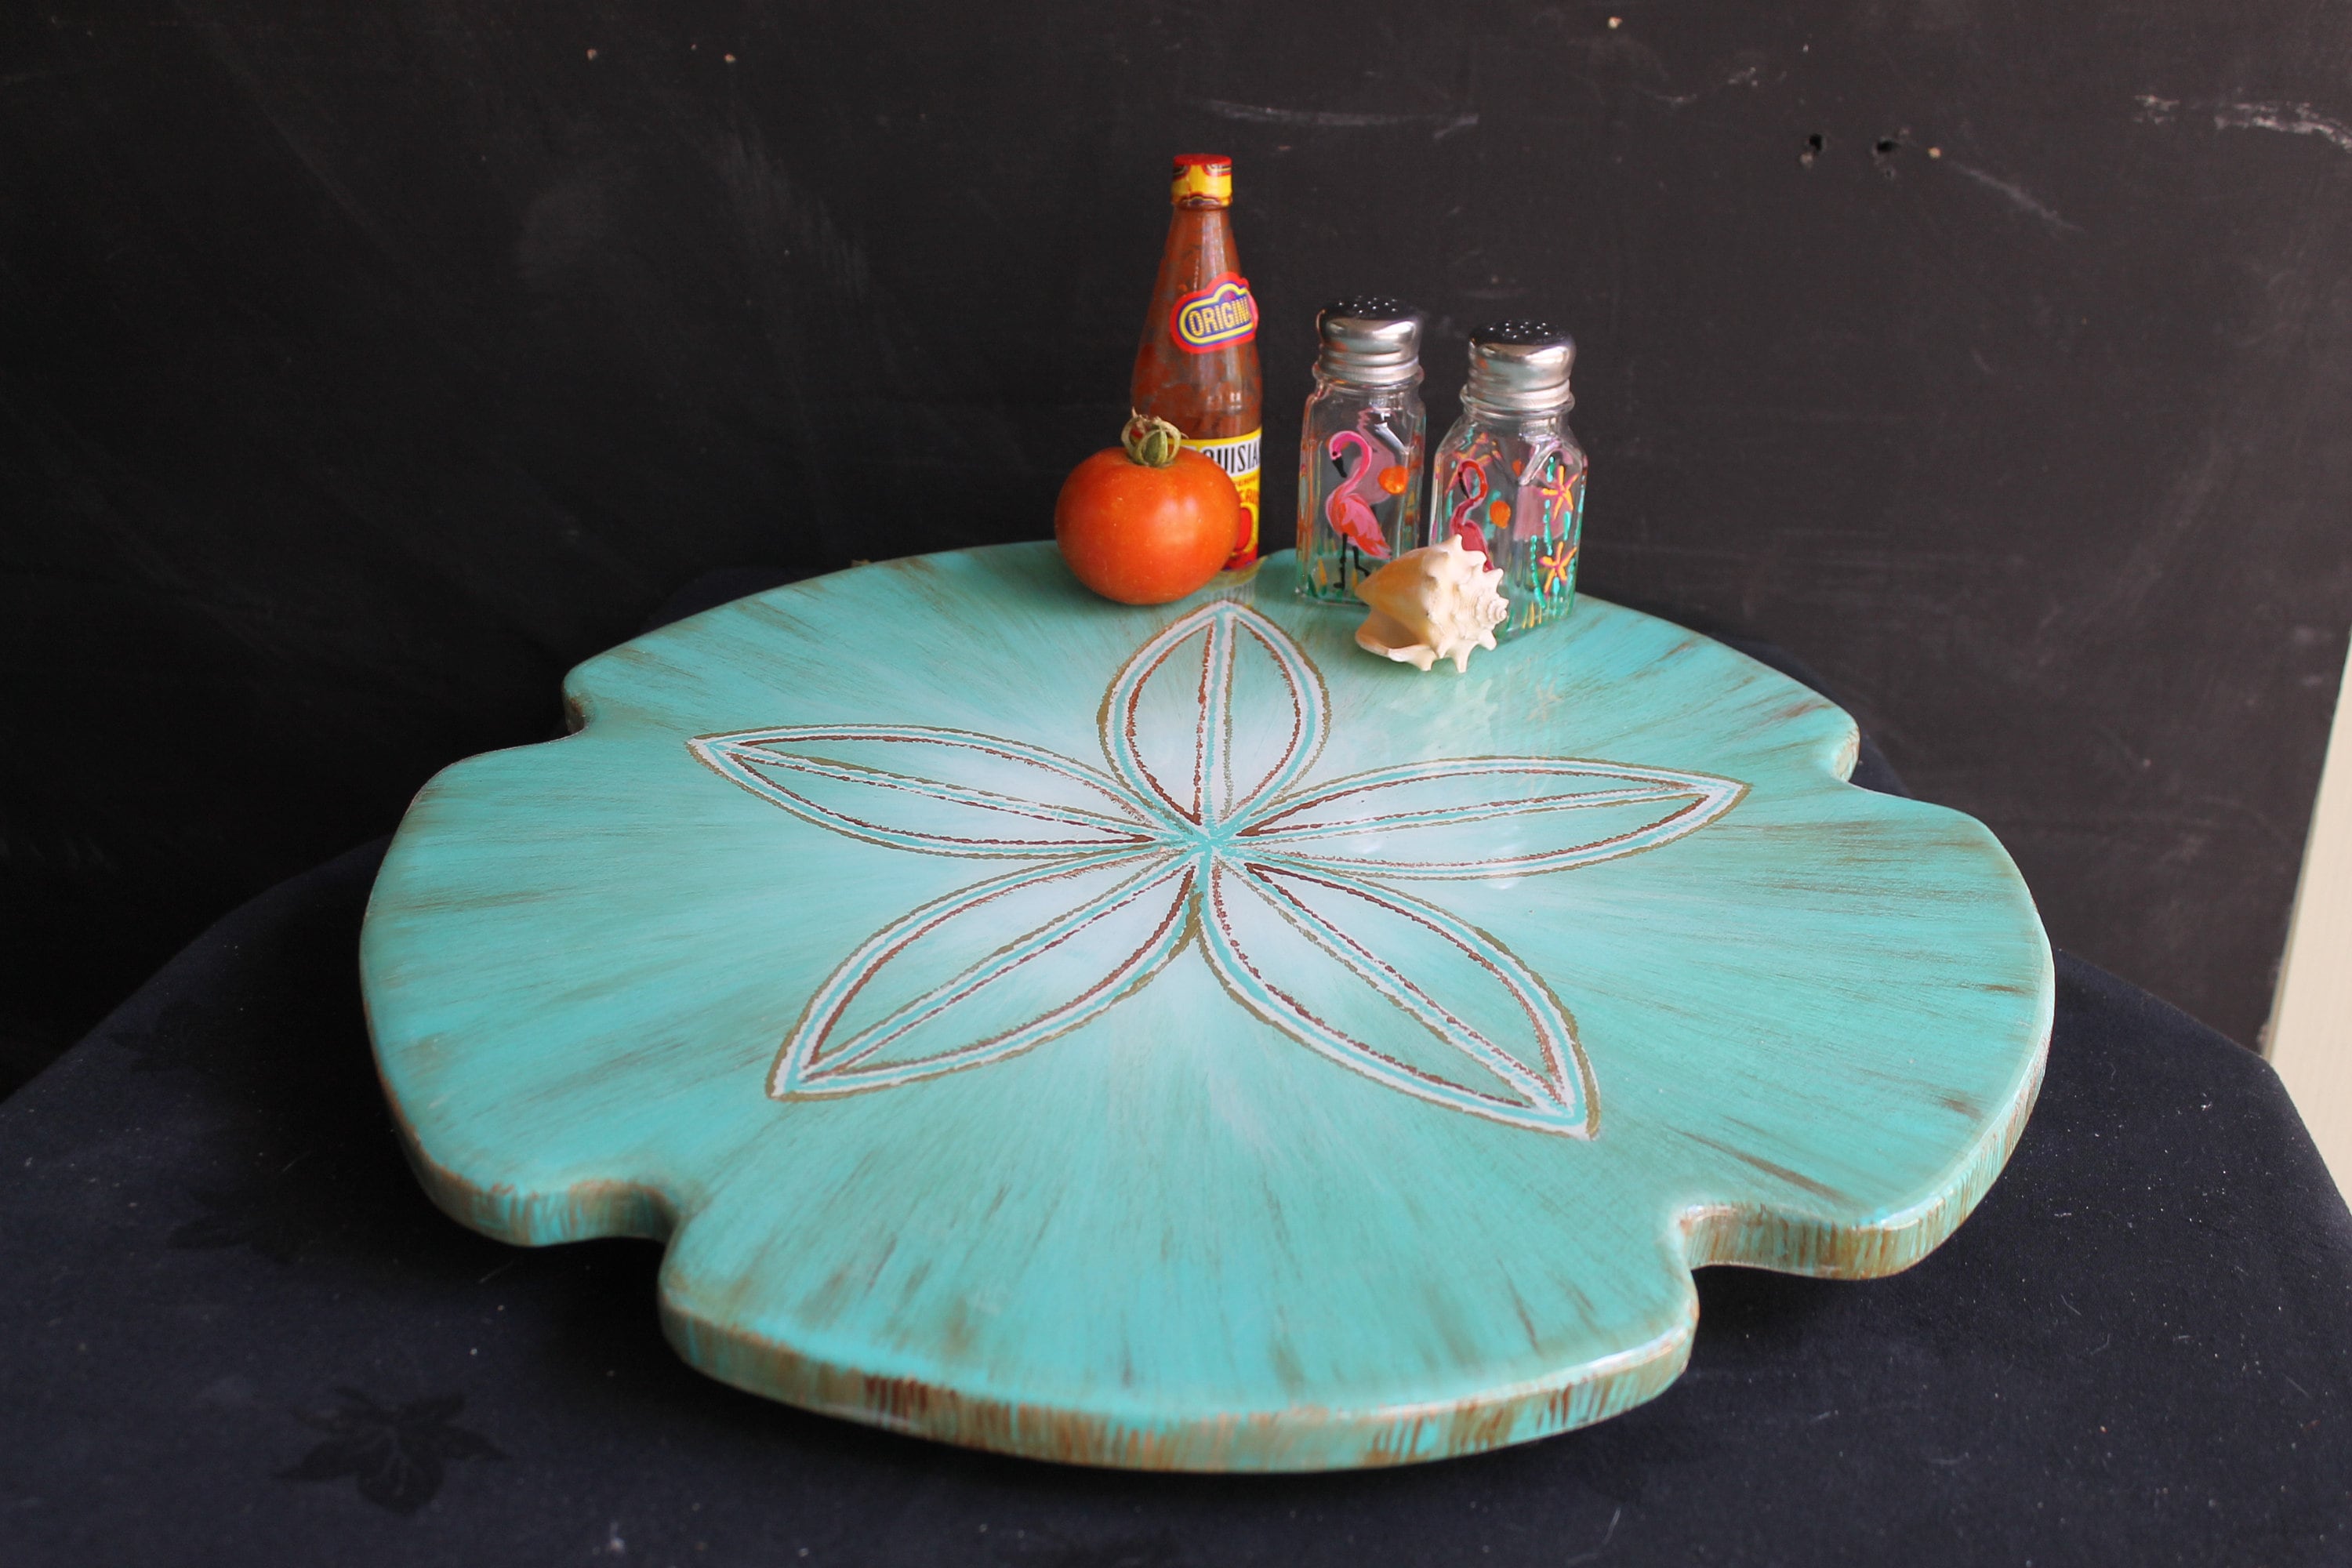
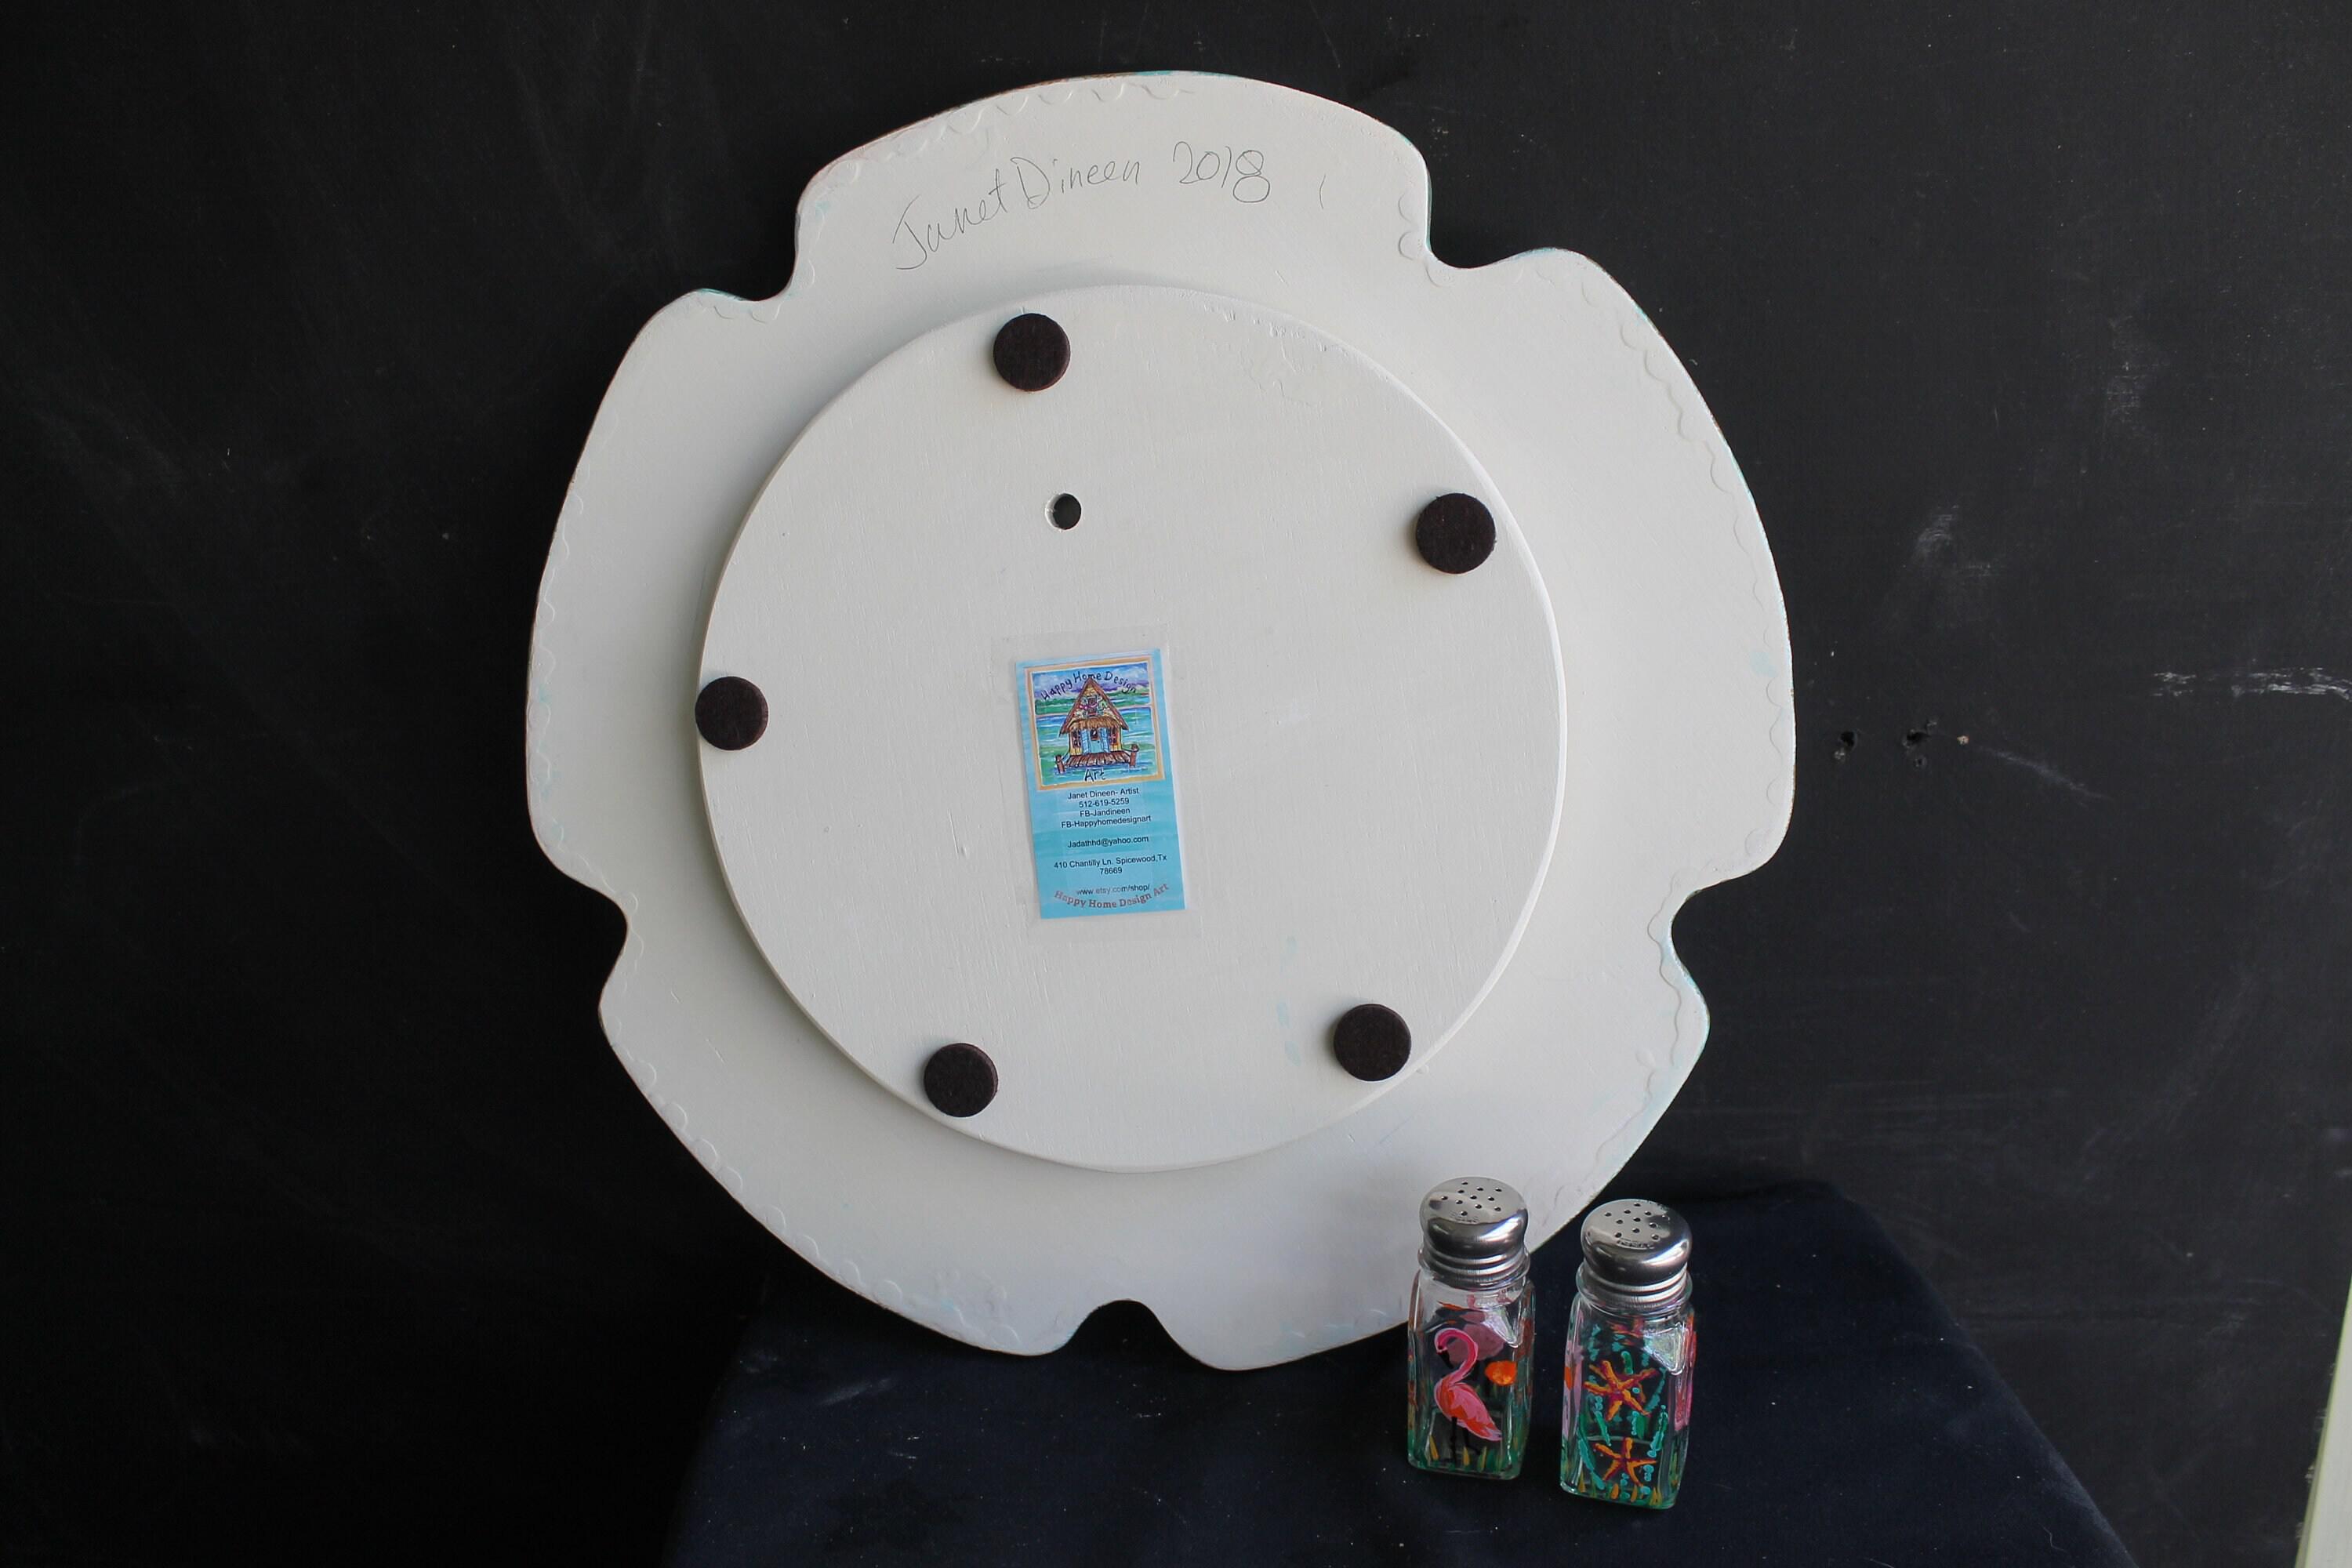
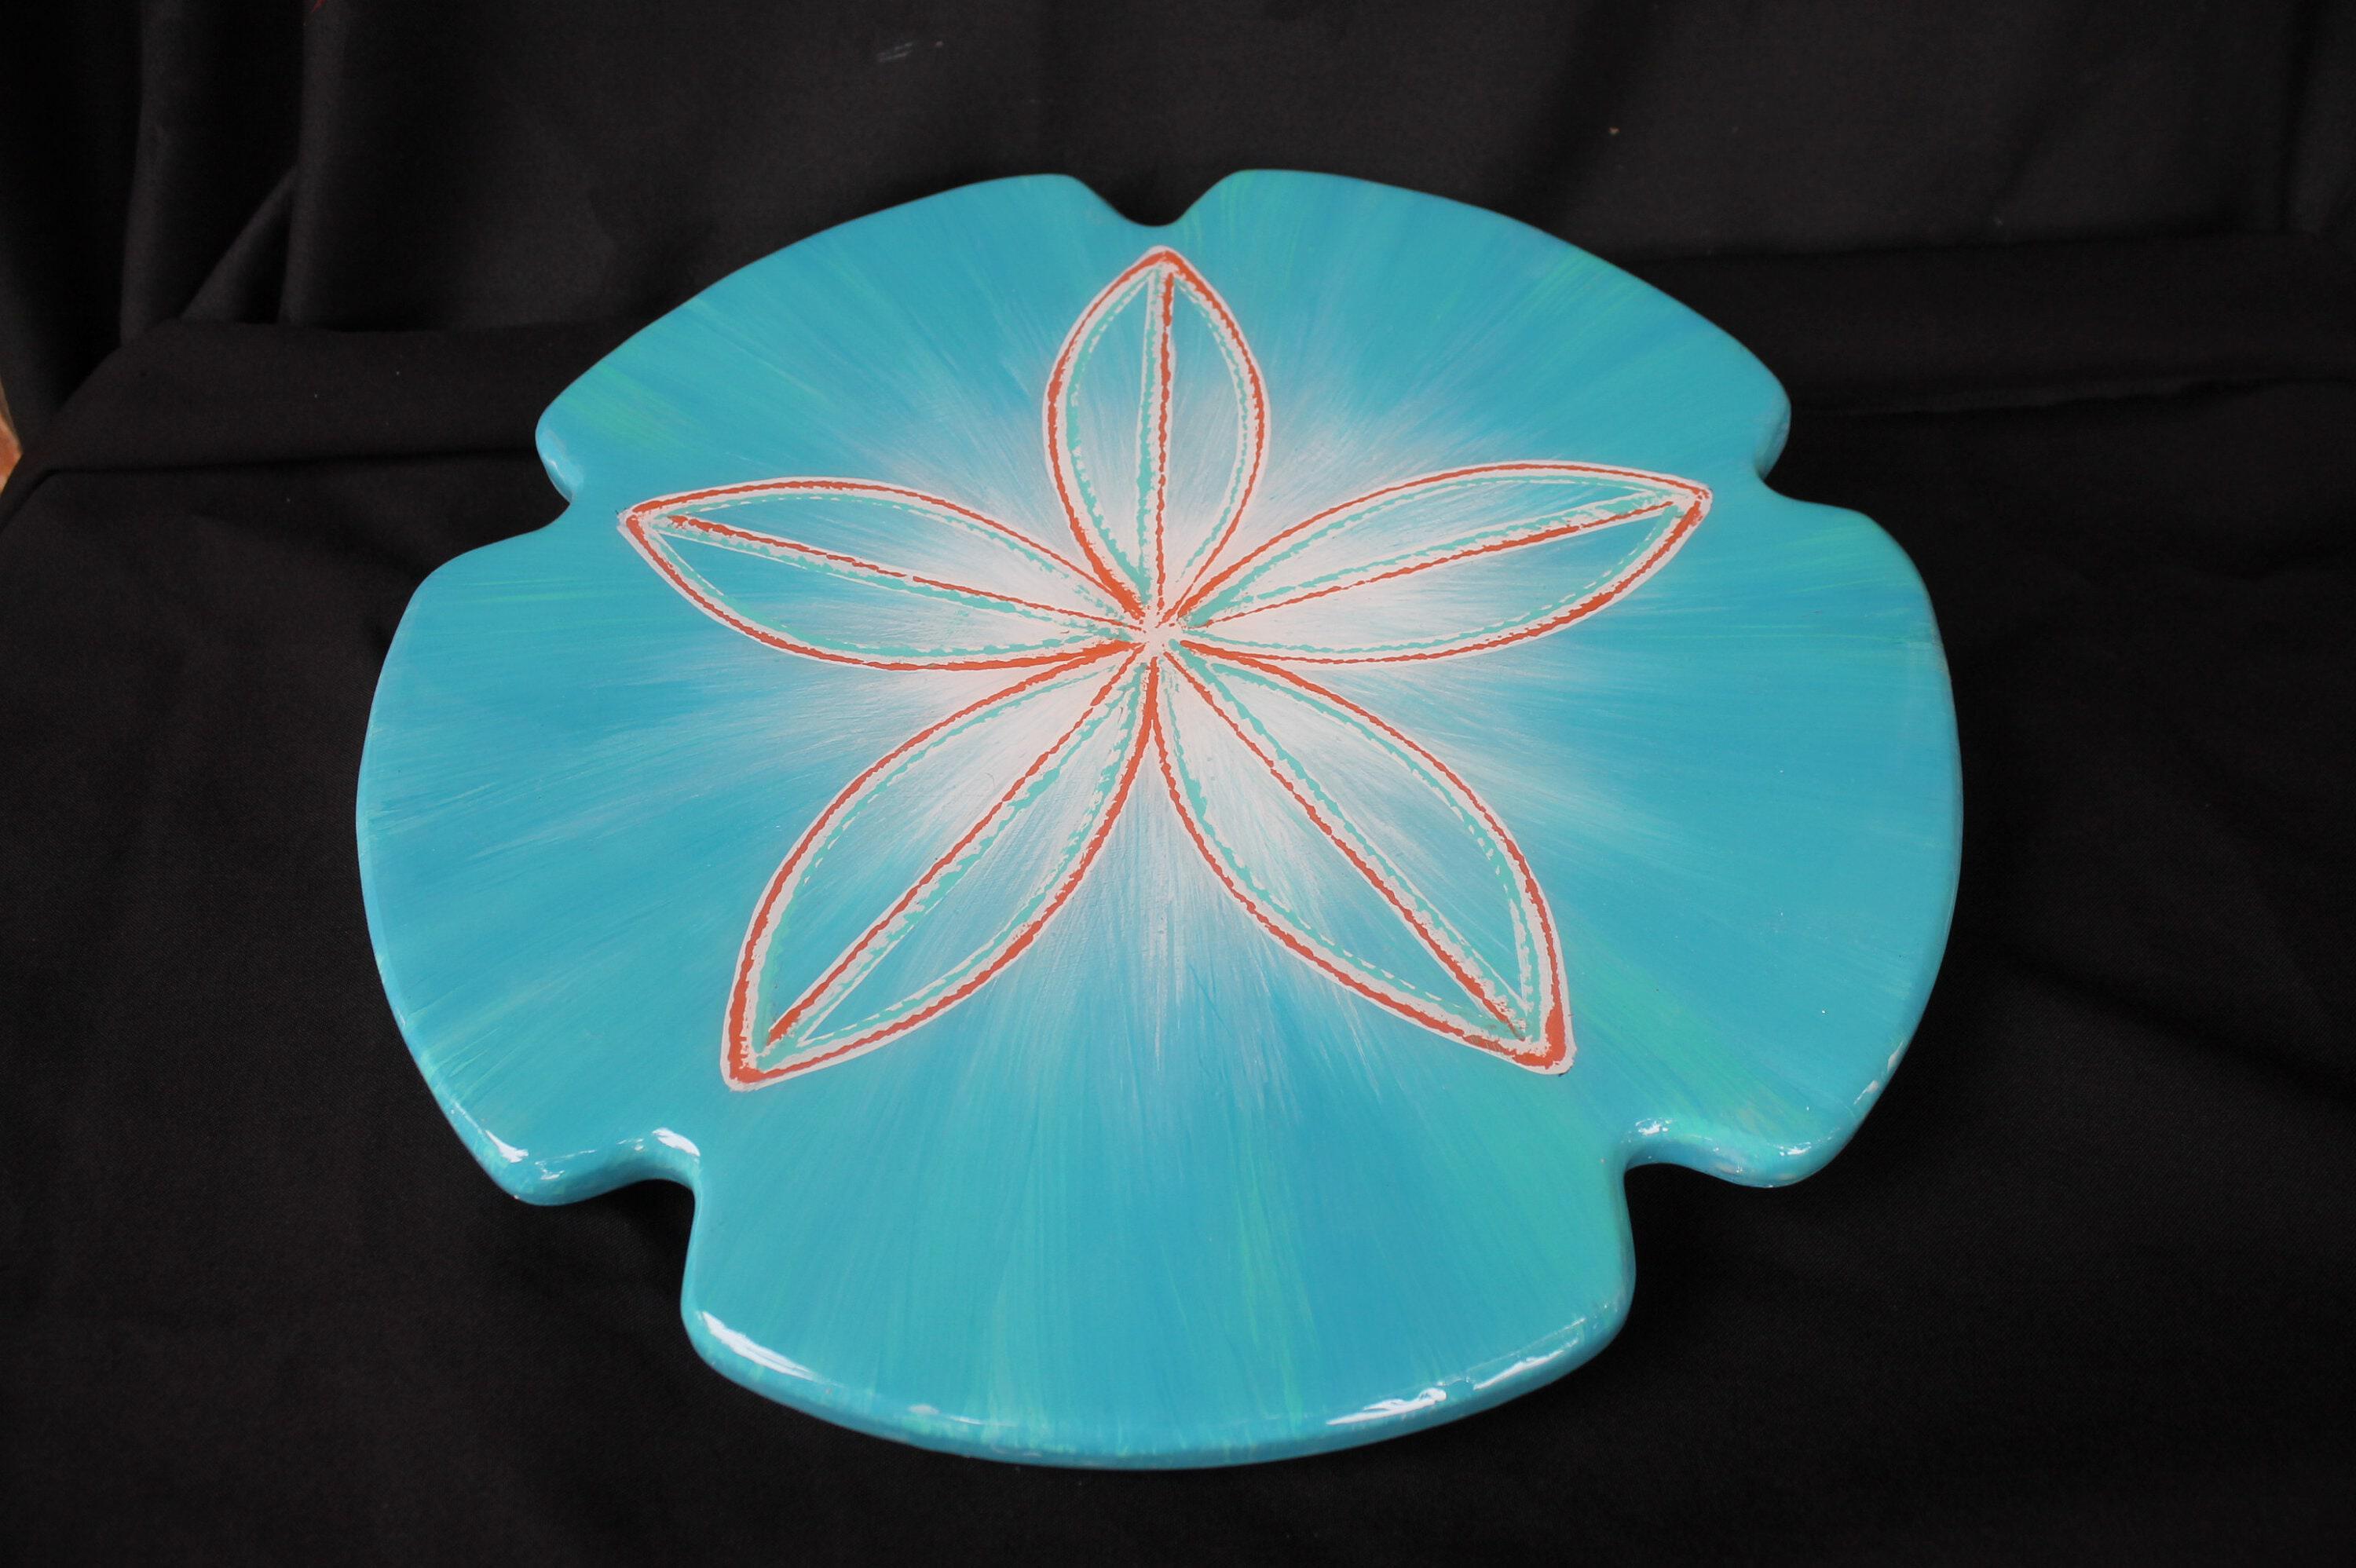
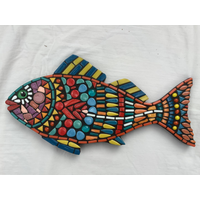
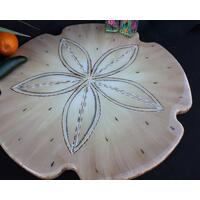
This is a listing for either a 14 or 18 inch across hand made, hand painted Lazy Susan Turntable.
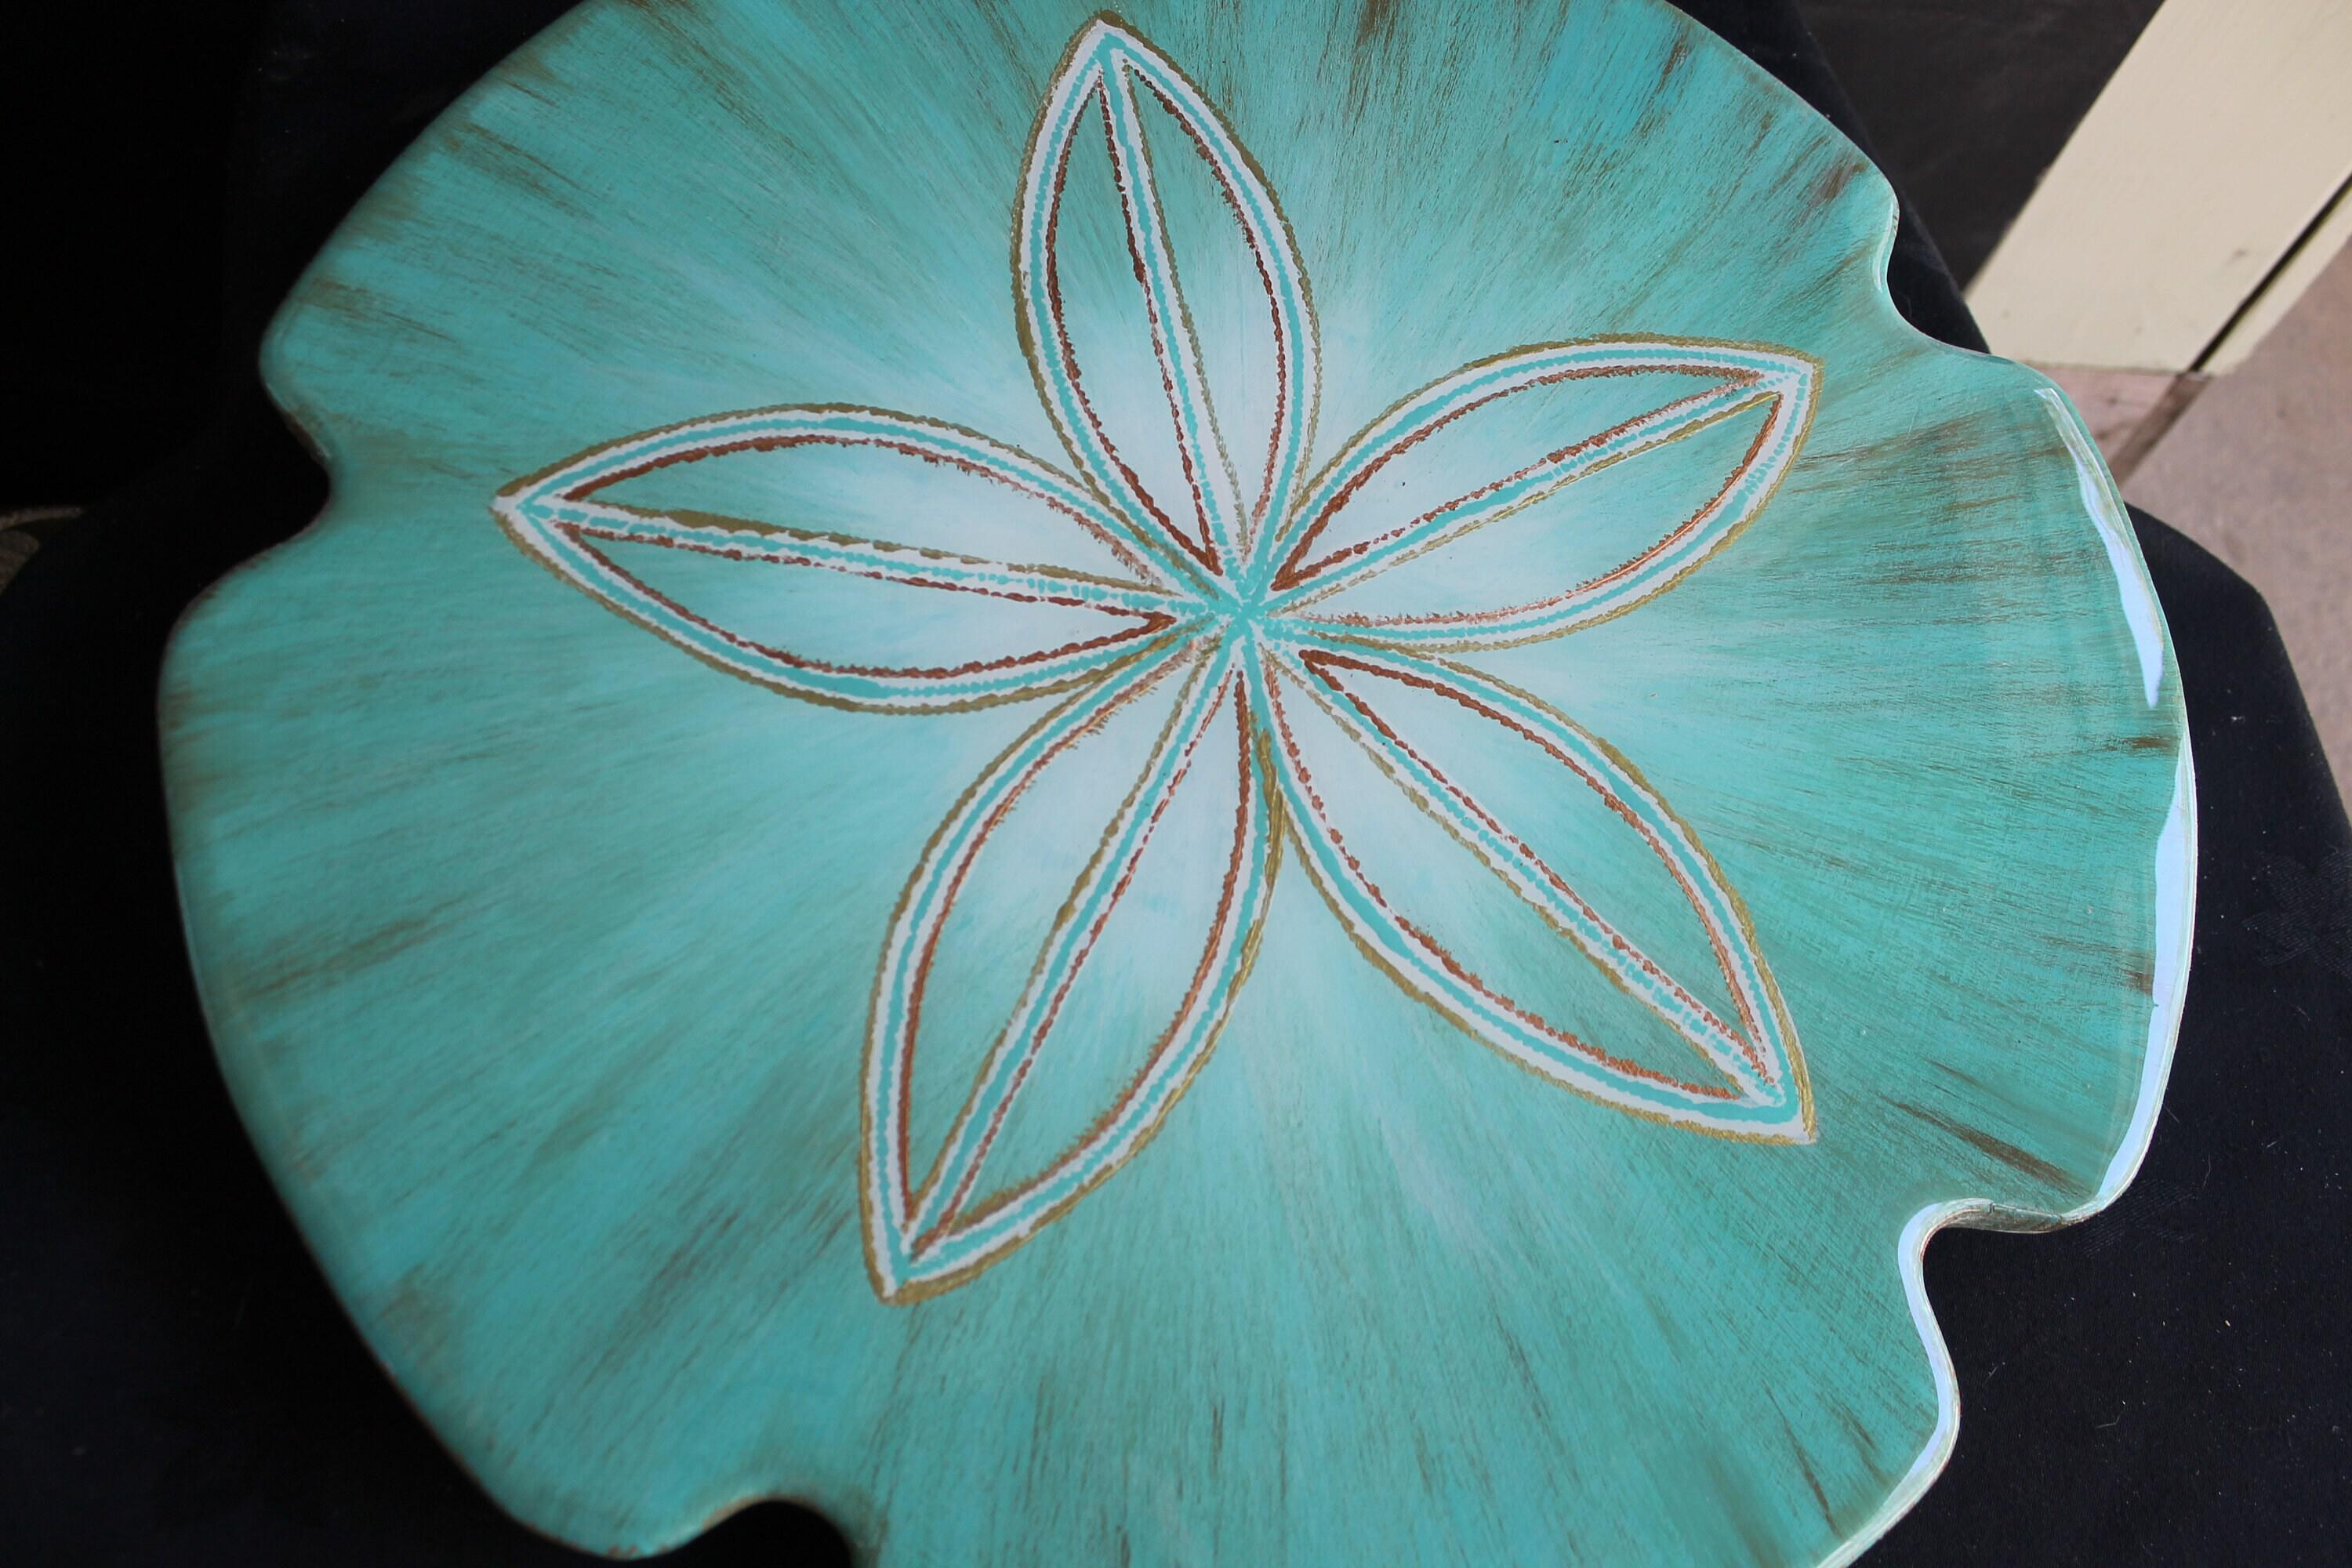
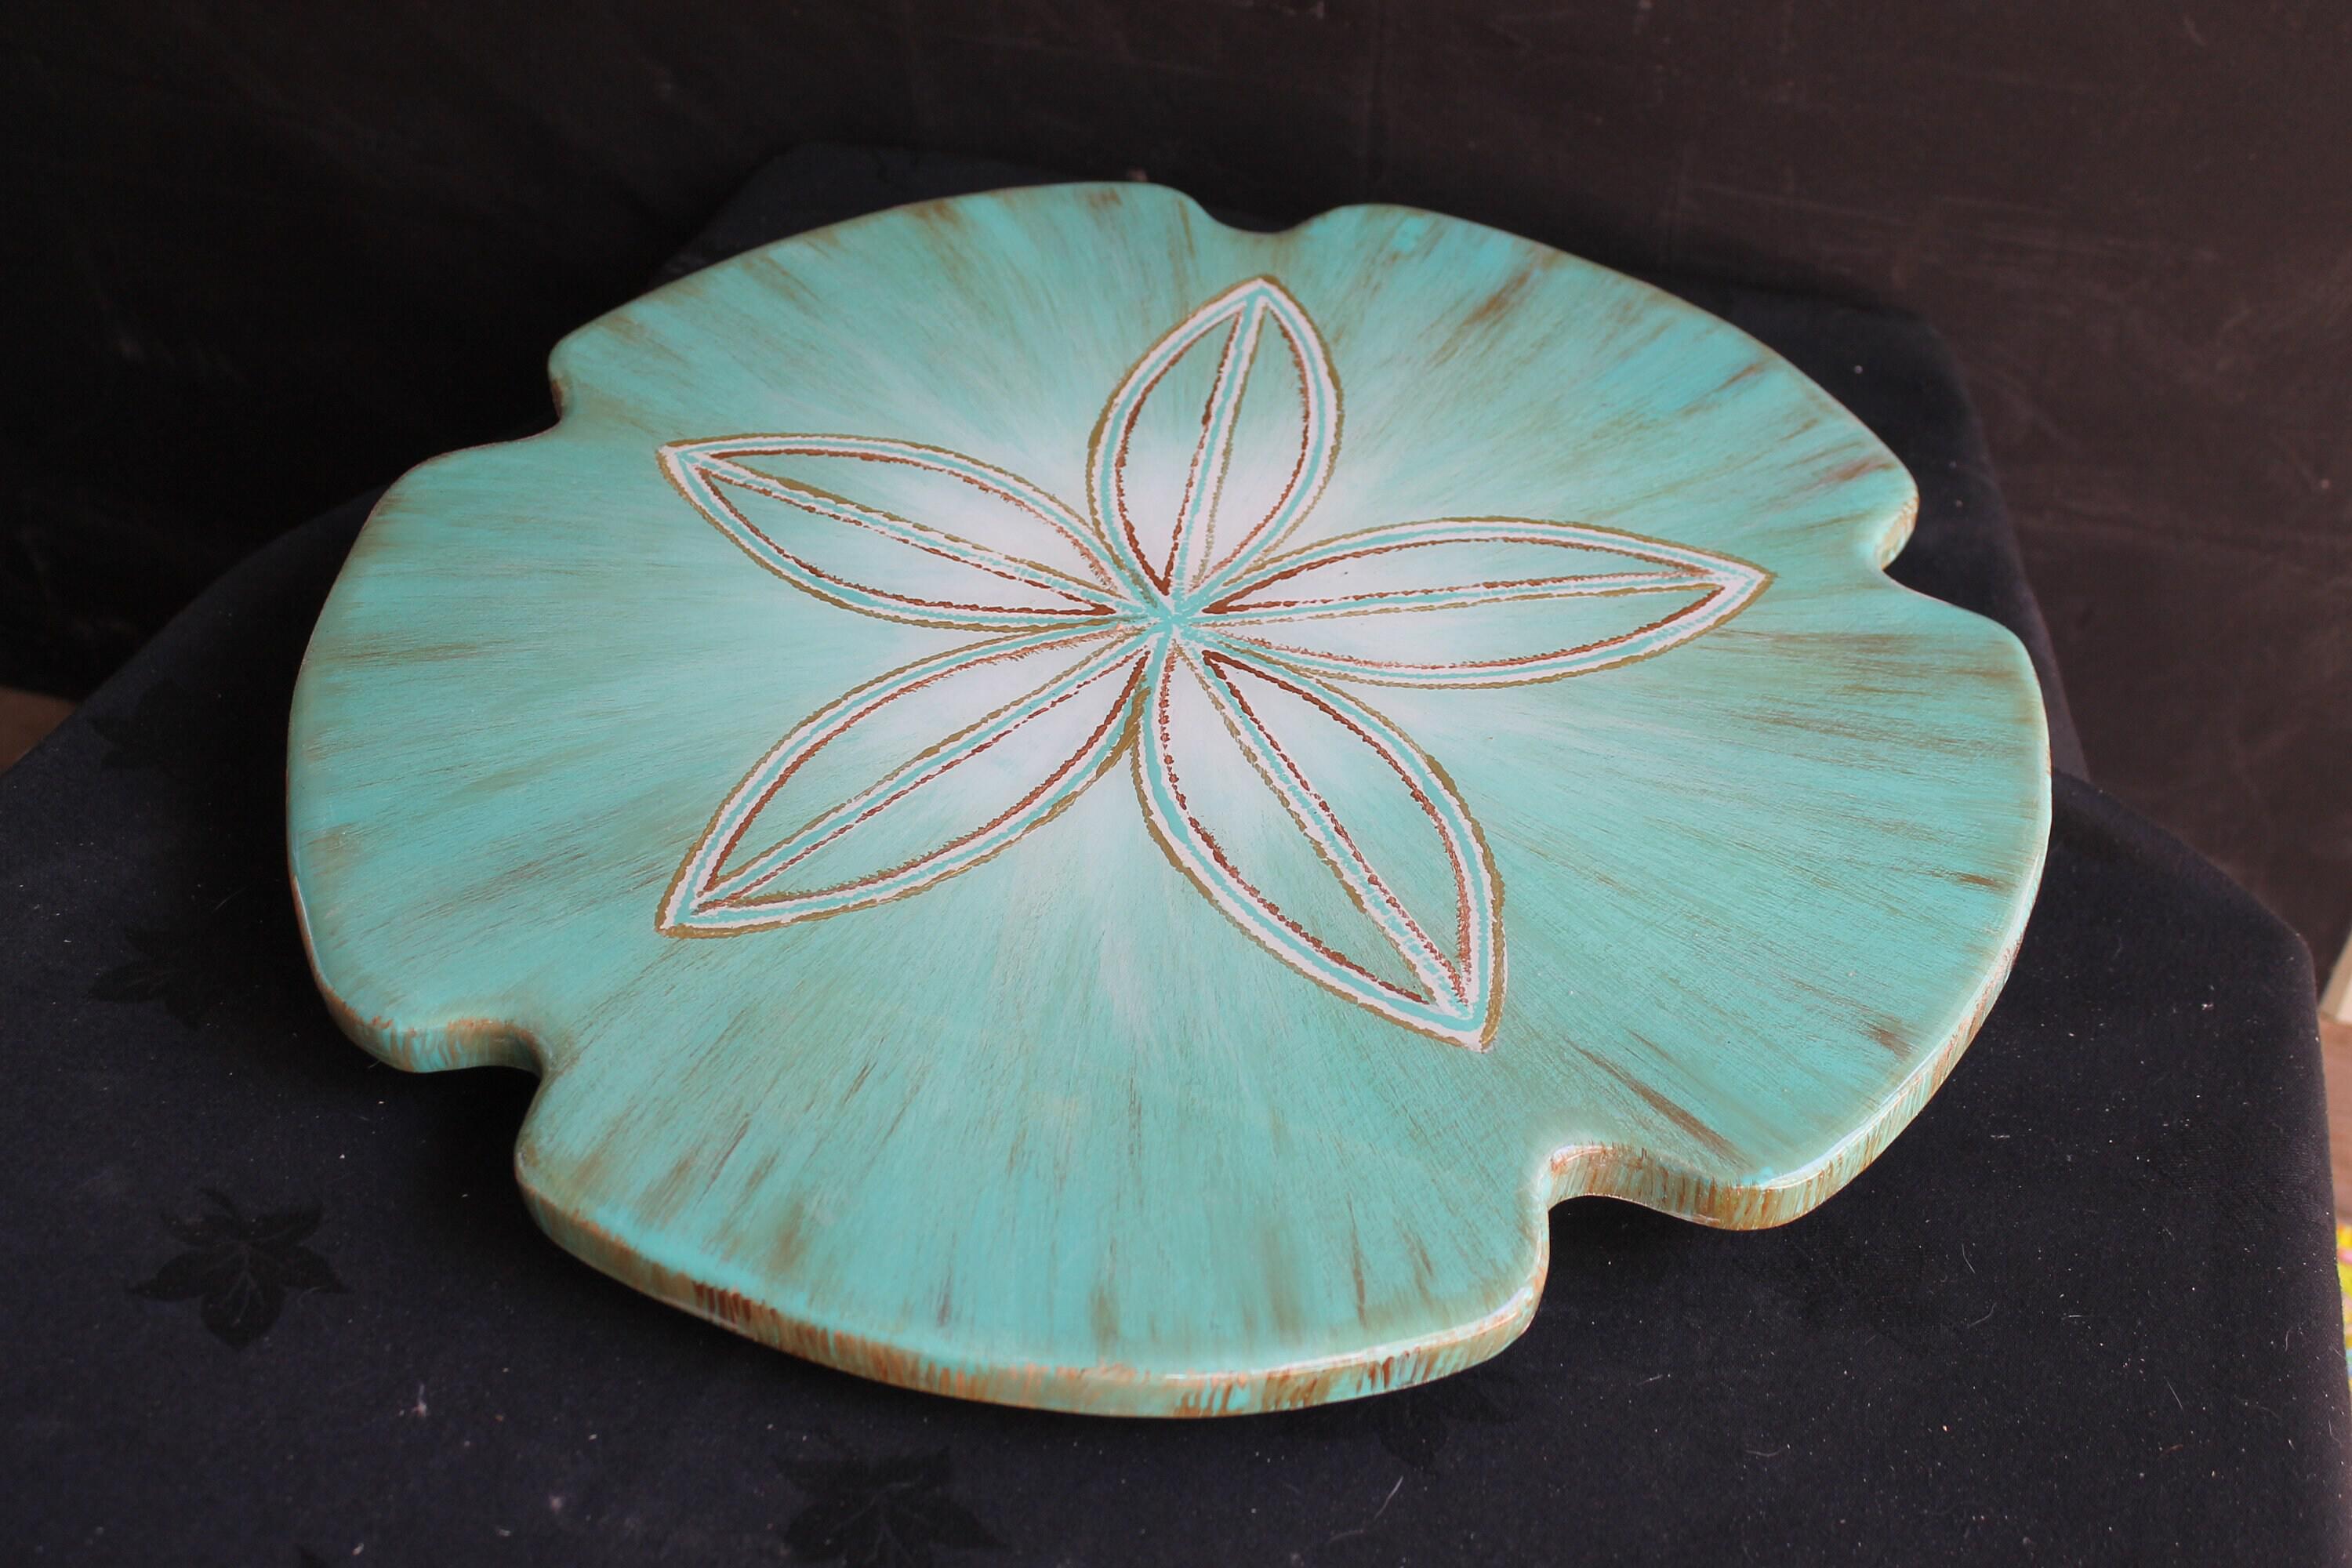
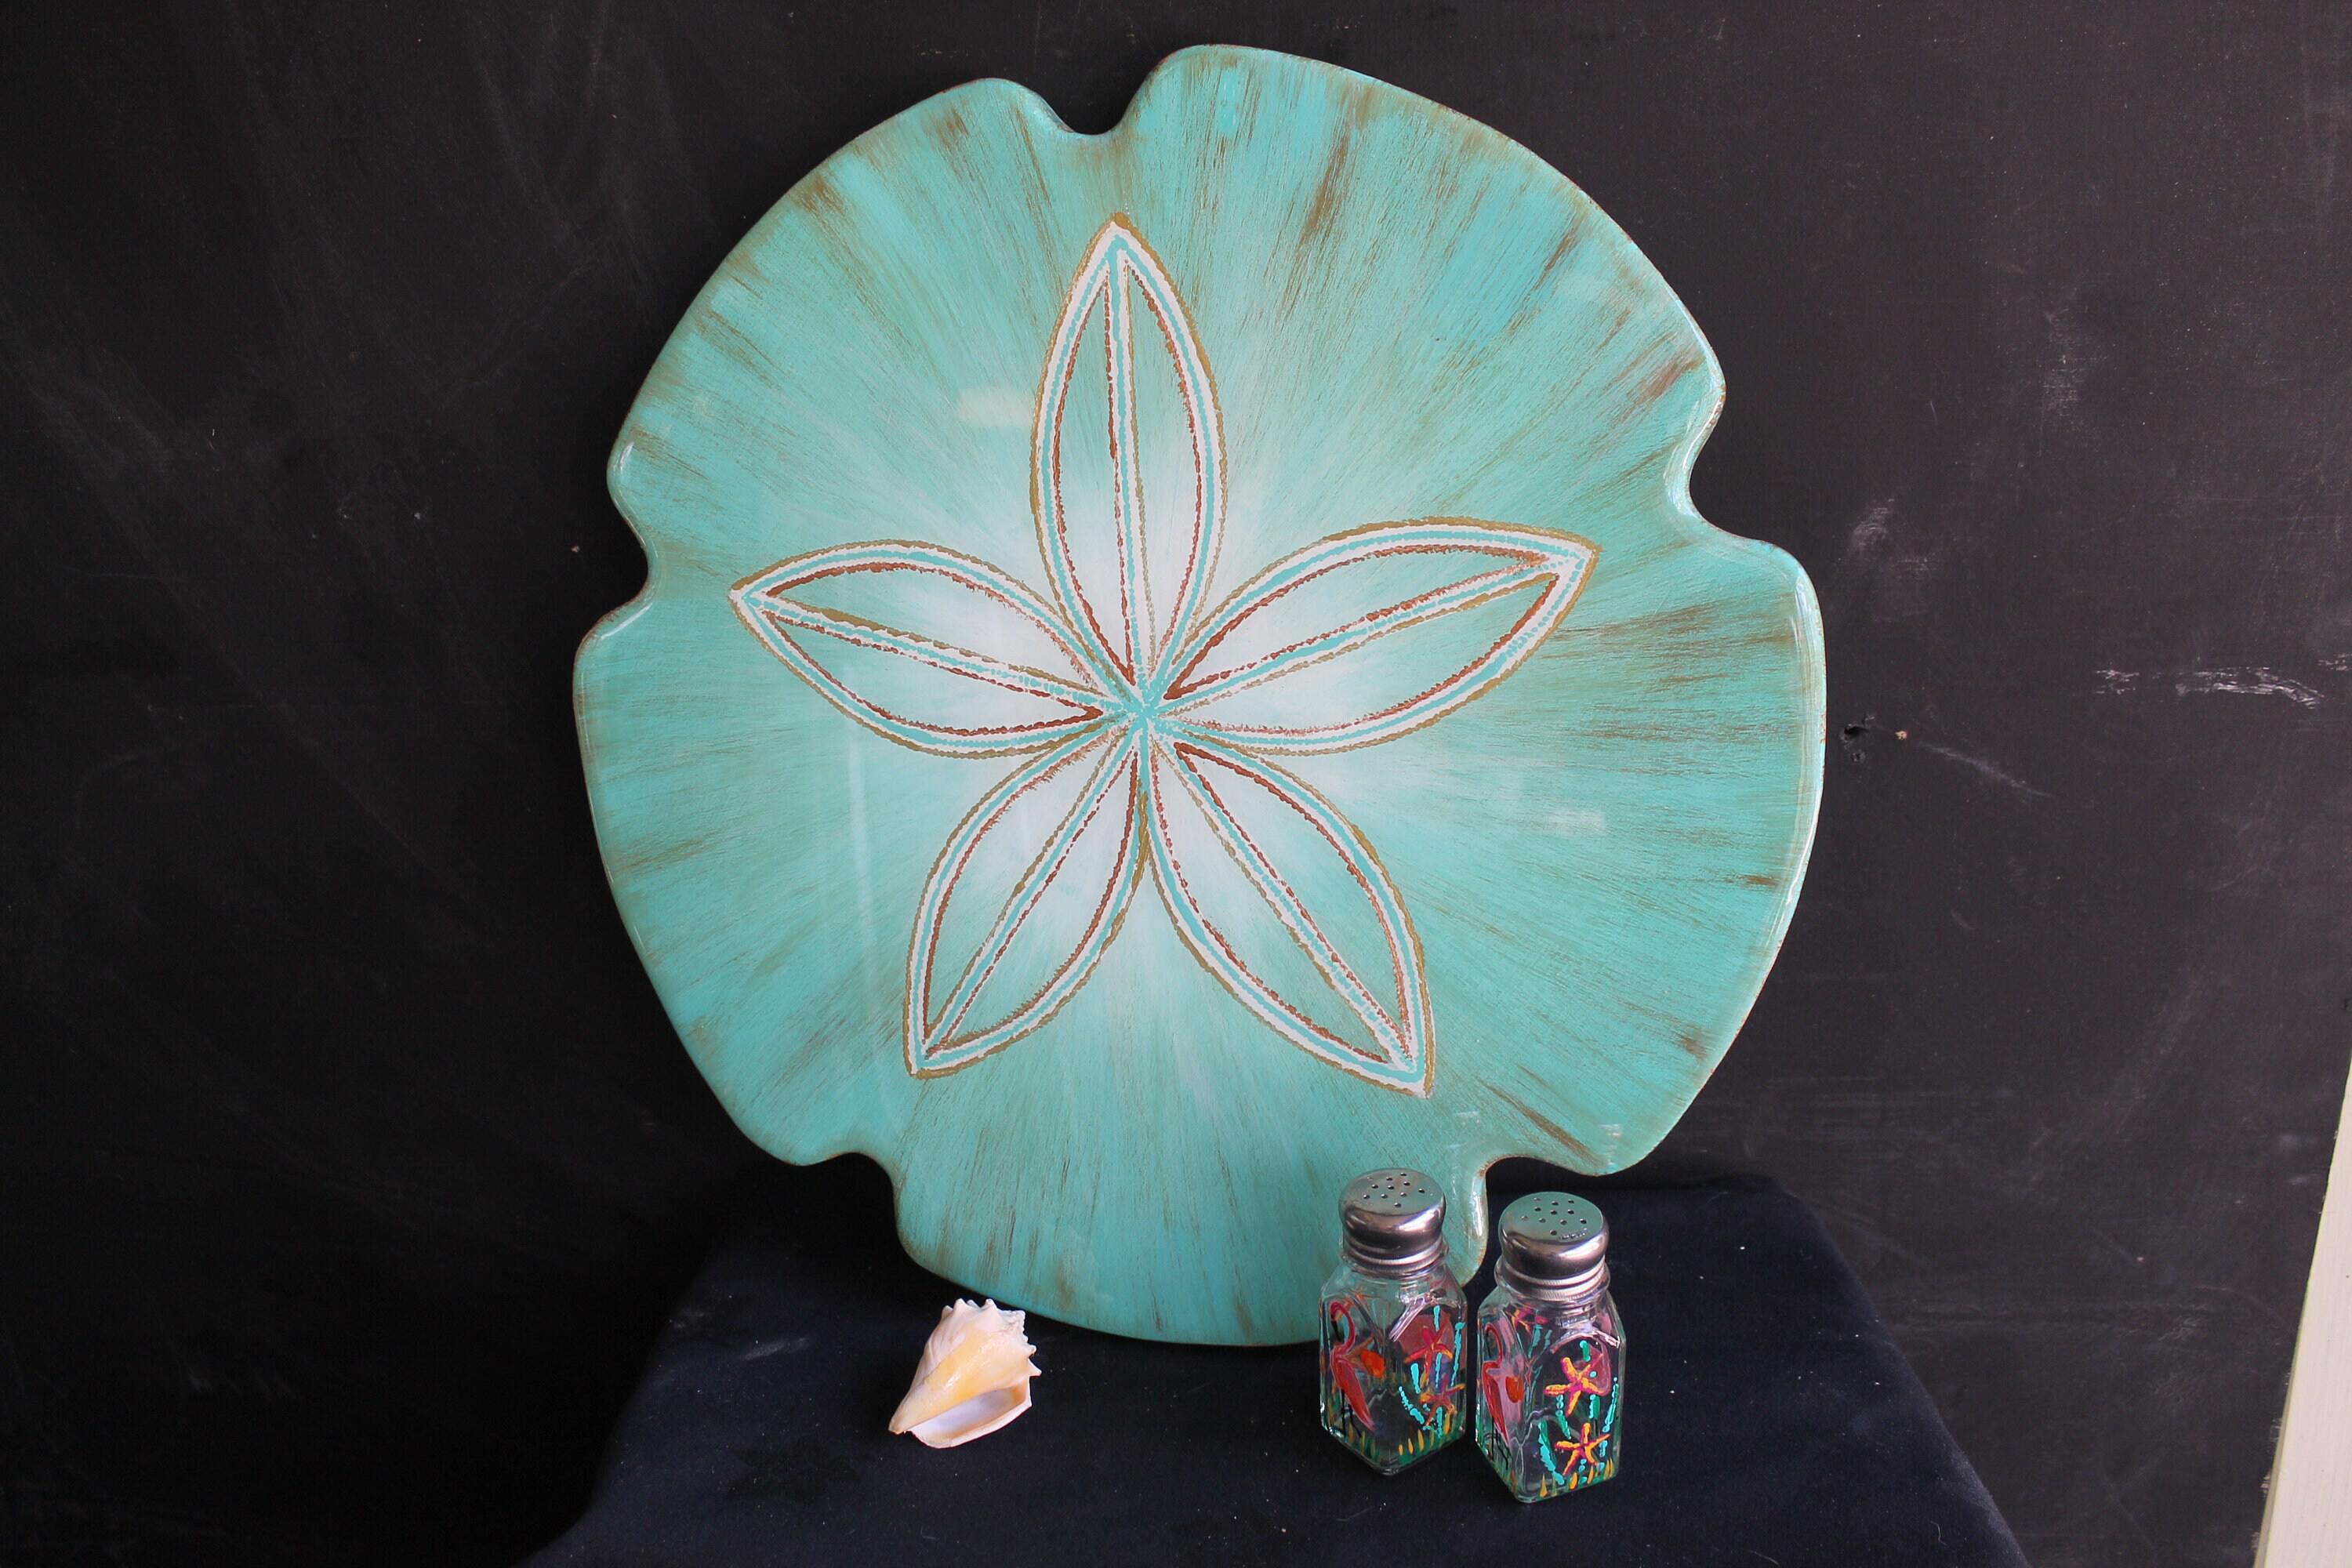
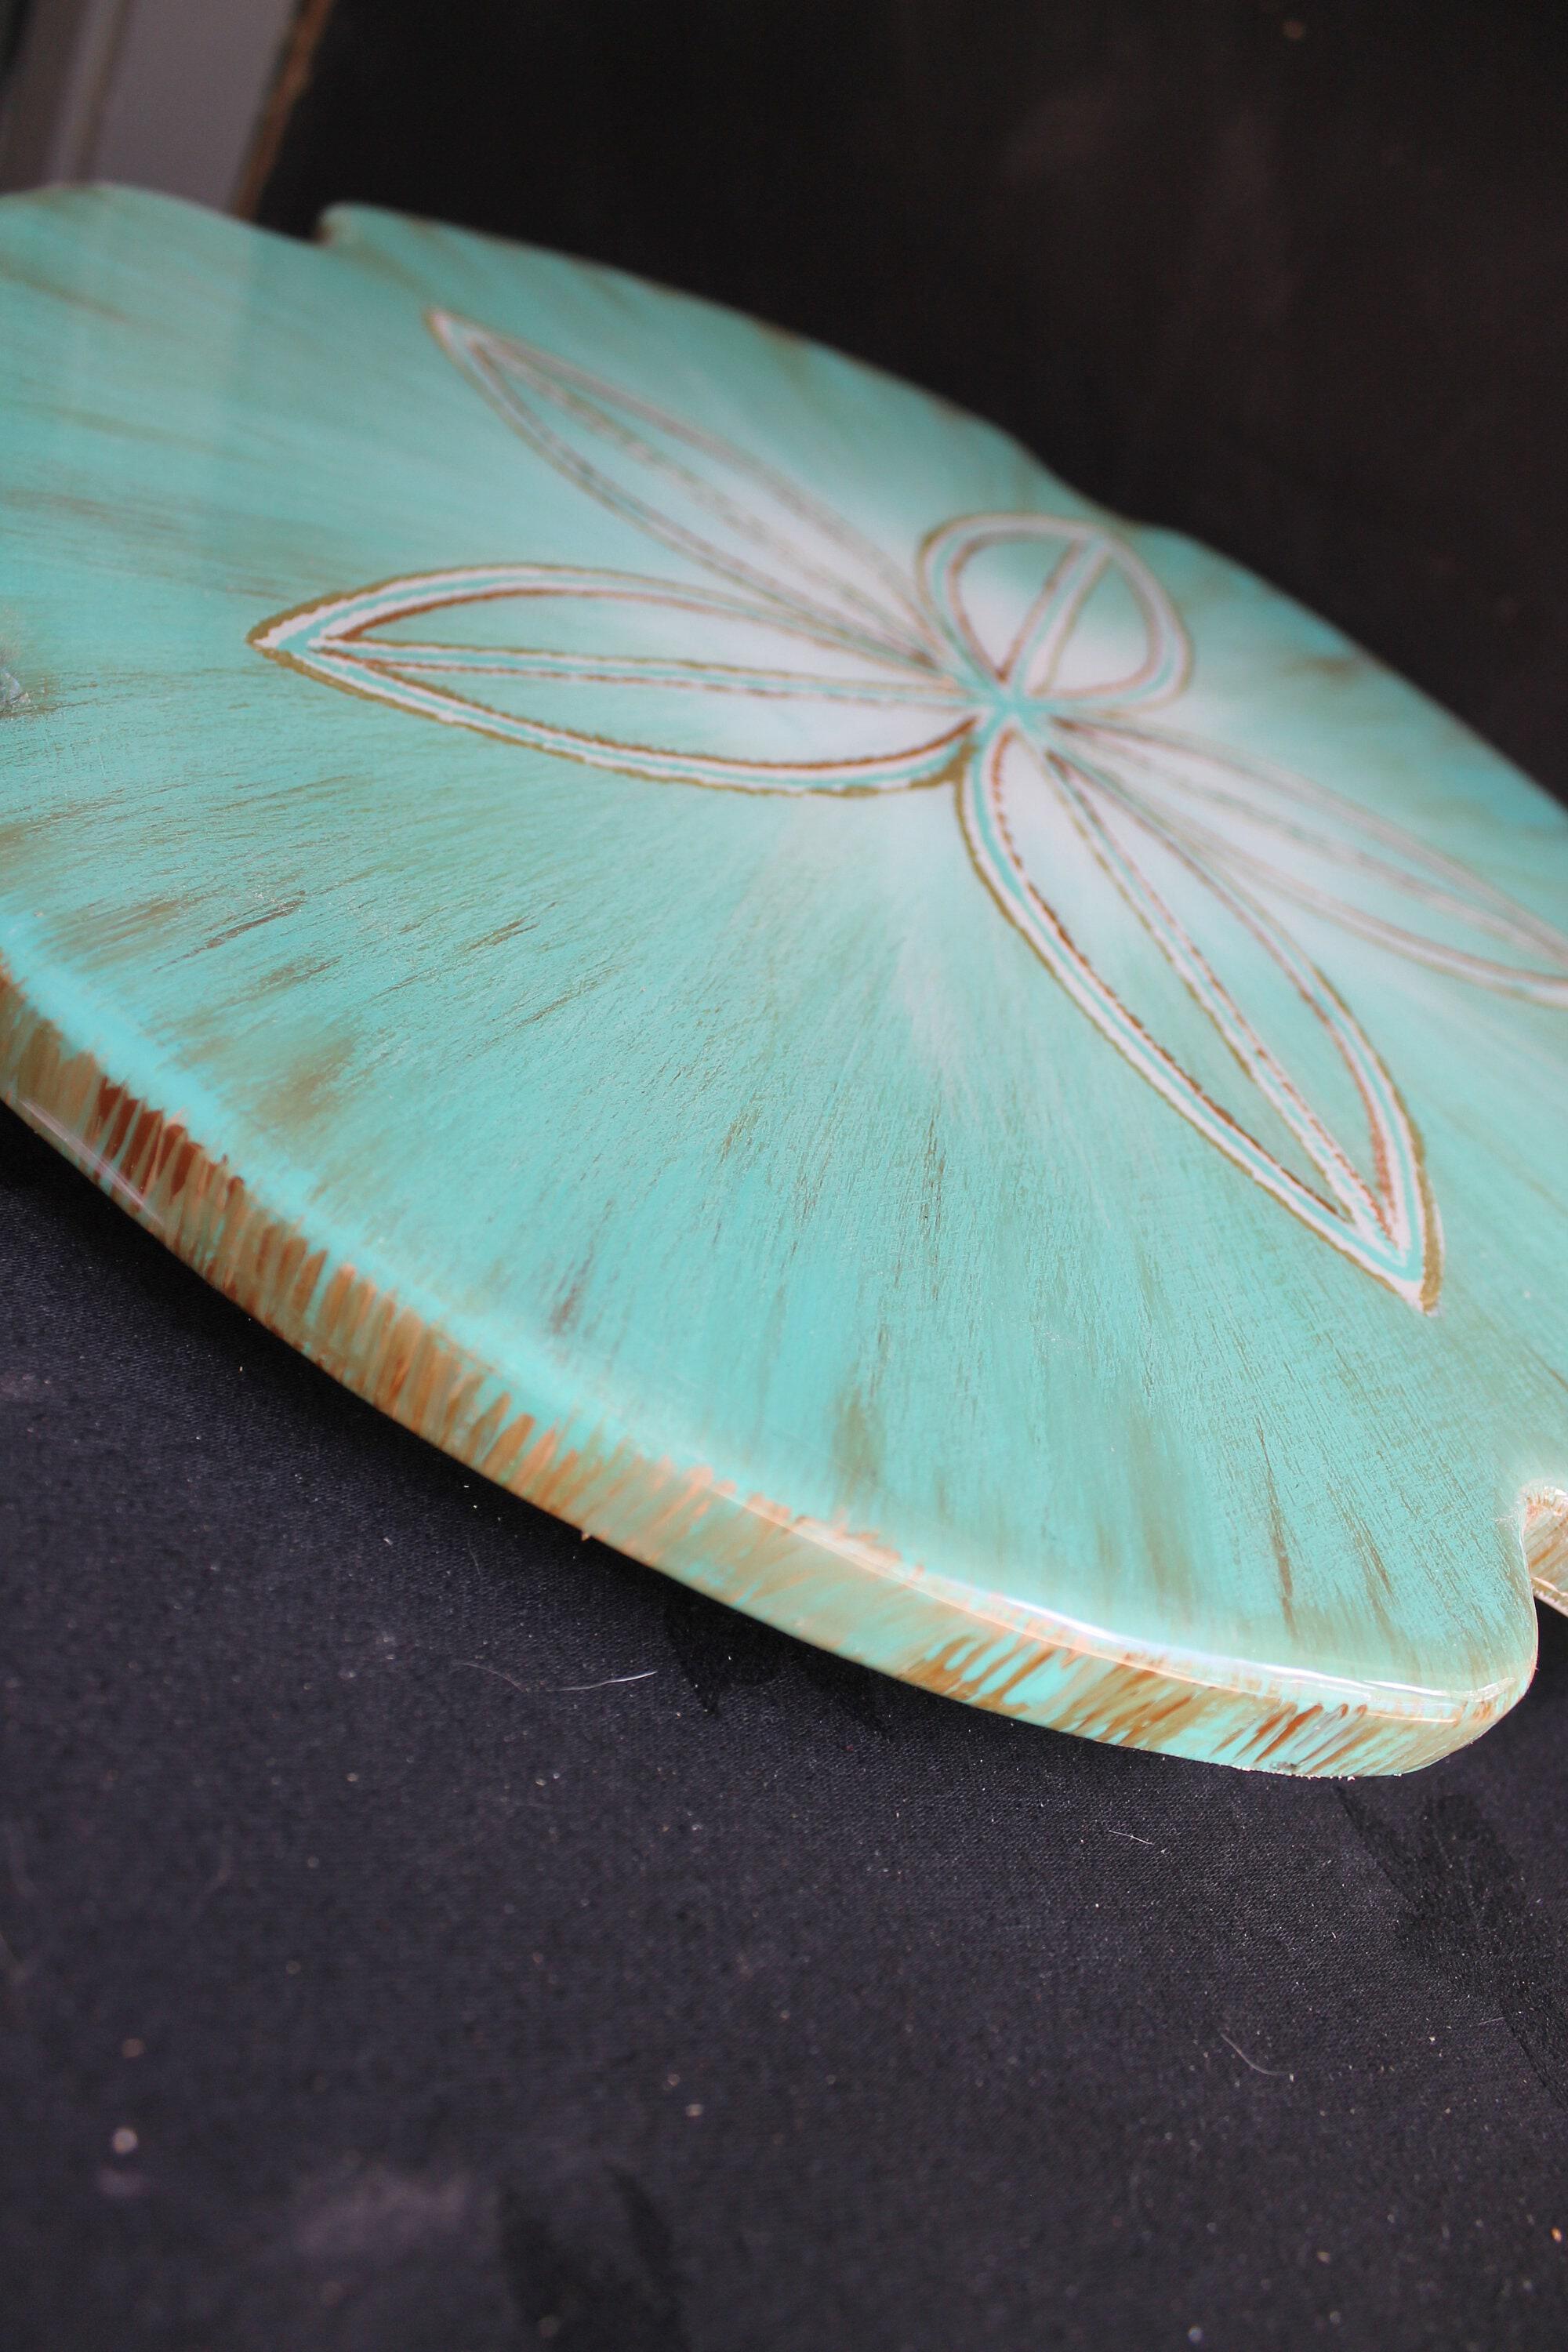
This lazy Susan is a perfect beach house warming gift, a great gift for mom or a one of a kind wedding gift. I call this color my "Turquoise Rustic" model. It is actually the favorite at all of the art shows that I attend!
The sand dollar Lazy Susan is cut from 5/8" cabinet grade plywood. I cut, sand, prime and then paint the design with acrylic paint. To finish off each one, I coat the Lazy Susan's with two coats of two part epoxy. The epoxy is what gives the piece that super shiny, thick glossy, glass like finish. I use the same type of epoxy that you might see on bar tops or restaurant tables. Most people that think it is made from glass or ceramic.
I make each one to order. It is rare that I will have one already made. This being said, it will be painted almost...just like the picture. The more I make, the better they get, so it will probably be just a little better.
Thank you for looking, and please stop by again soon, as I am always adding more items to my growing list of listing.
We were featured on Texas Country Reporter. Here is the video. Janet Dineen
Happy Home Design Art

Meet the Maker
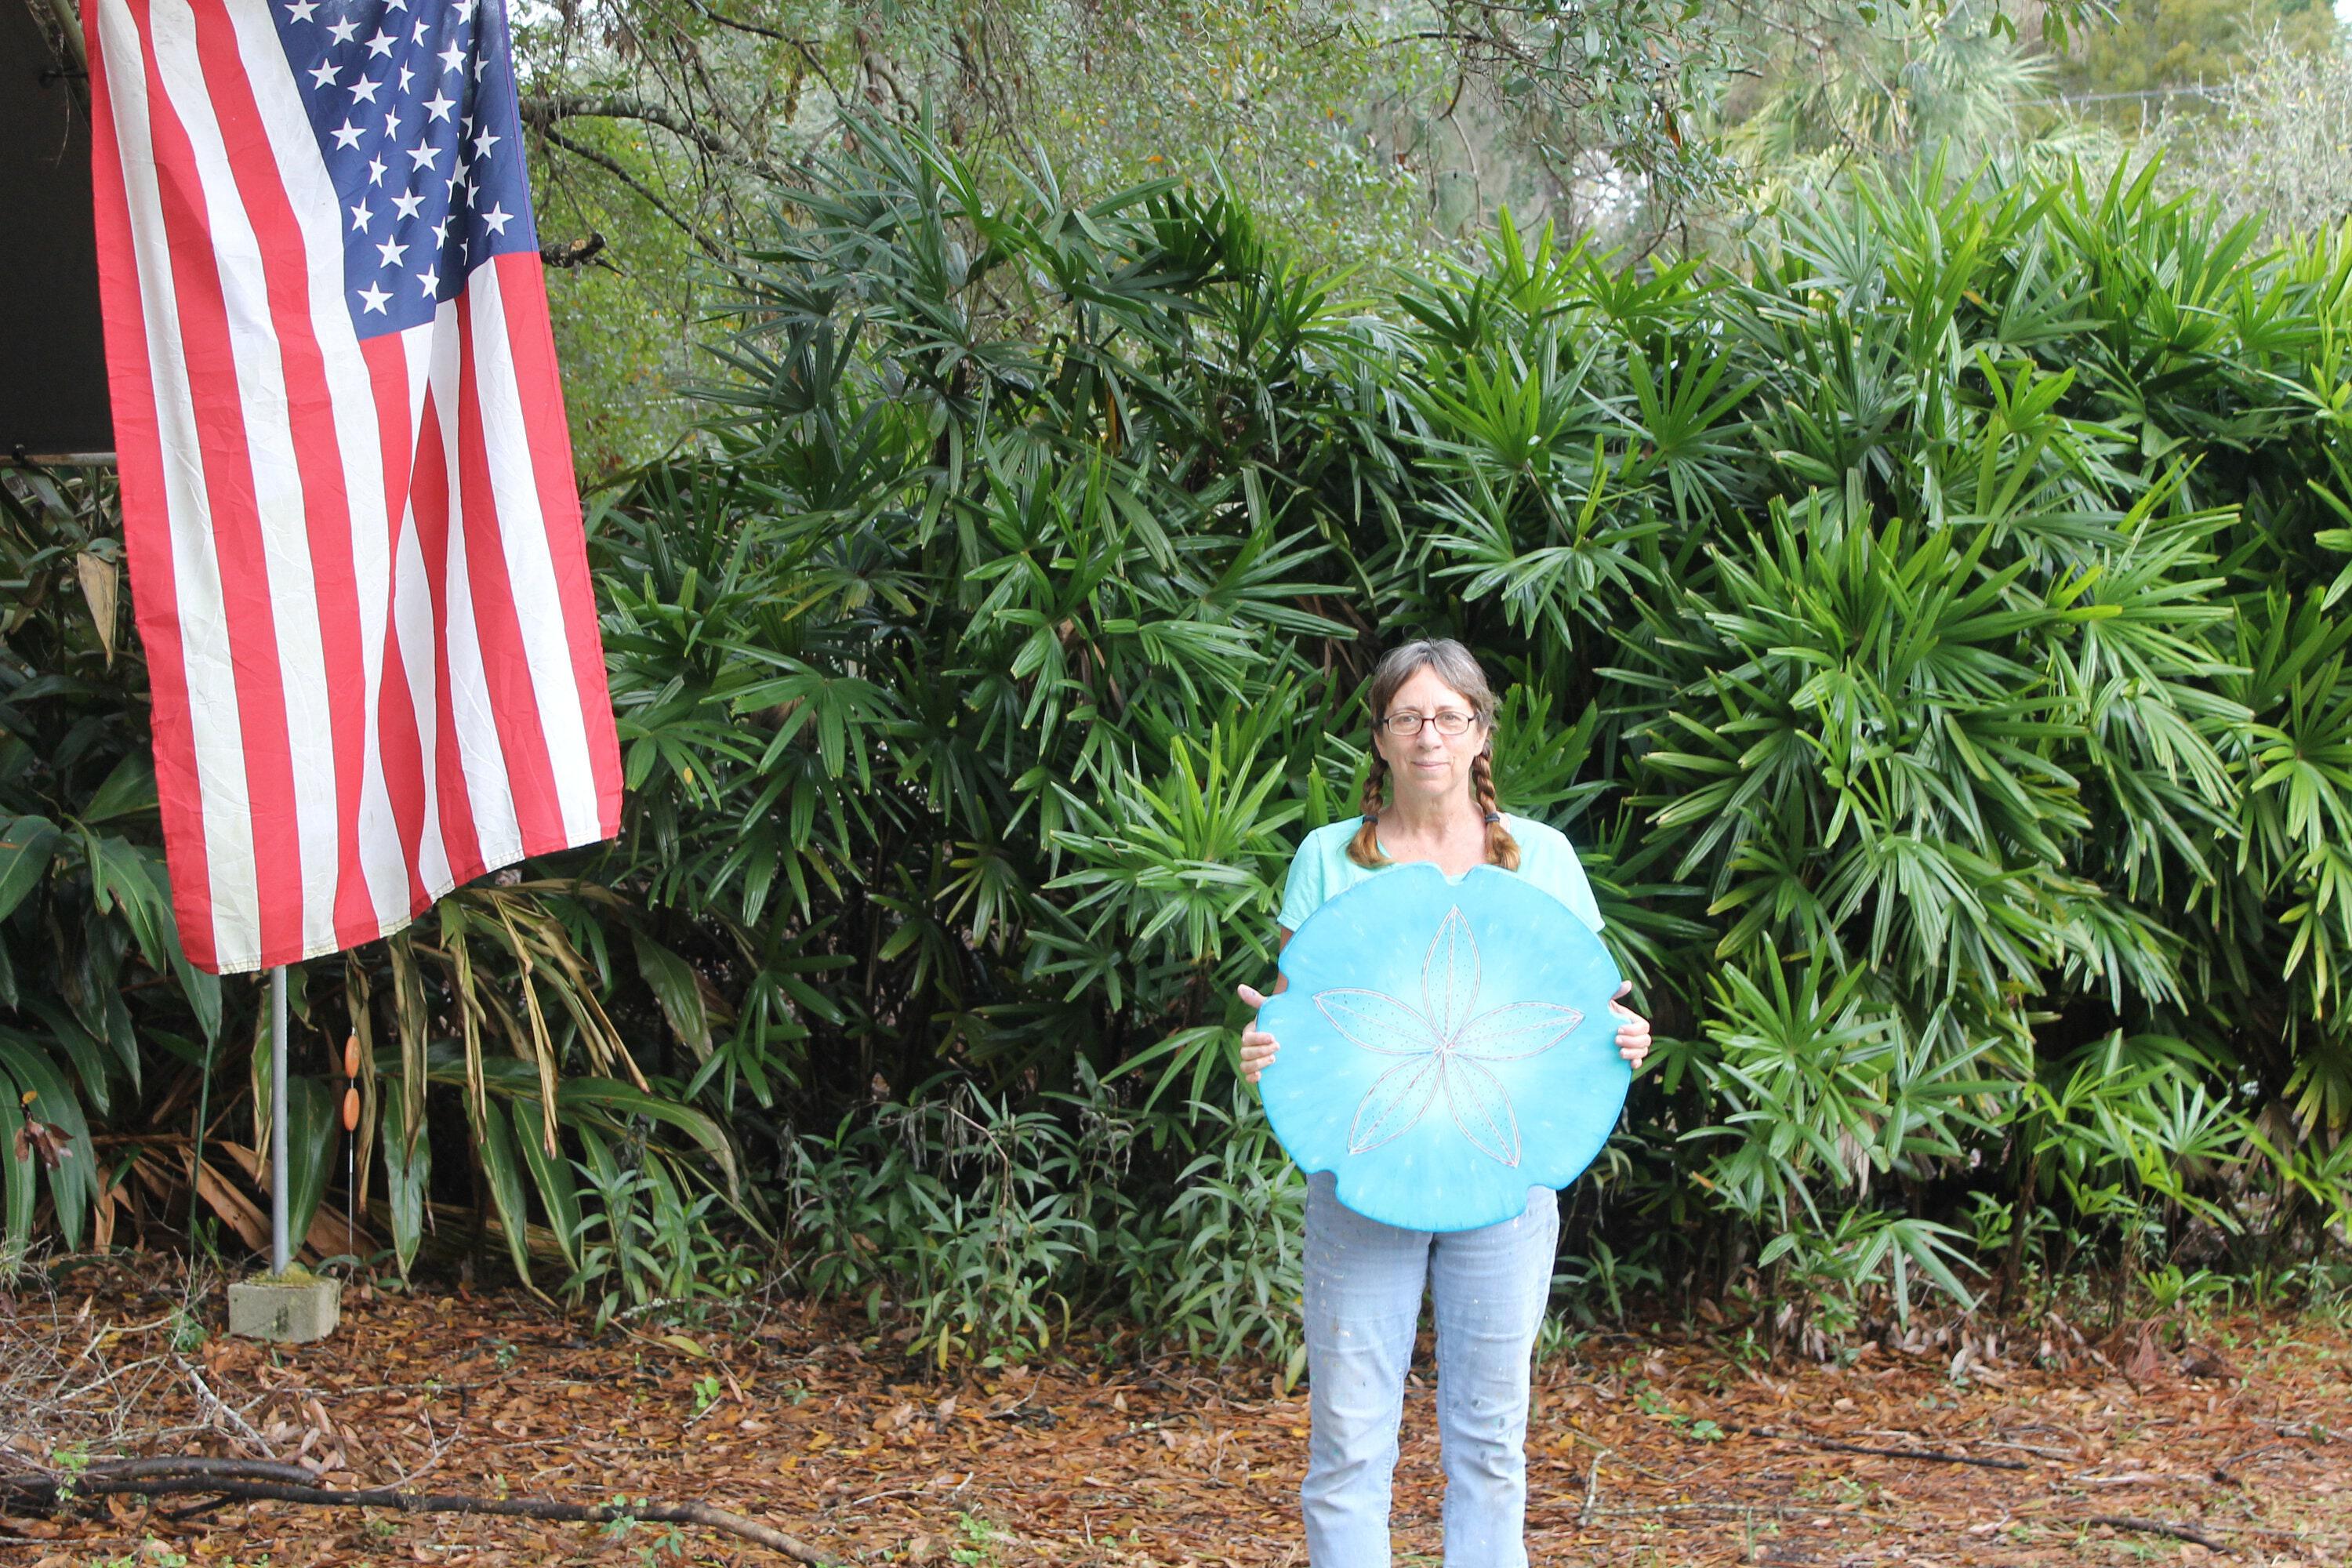
Hi everyone, I am Janet Dineen, a handmade maker of Mosaic Art, Custom House numbers and Lazy Susans. Custom orders are my specialty. Feel free to ask about anything that you have in mind. Many times, the best ideas come from people like you.
I currently live in Aransas Pass, Texas where I am very lucky to have a home studio where I can work in the lovely air conditioning. My husband Mike and I work together on many of the projects, he cuts the wood and I paint.
We have a little dog named Dolly and her job is to keep us entertained and chase squirrels.
I welcome people into my home studio to visit or purchase something that I might have available. I hope to make something special for you soon. Cheers!
How it’s Made
This is how we make our Lazy Susans.
1. Purchase the Wood. 2. Cut the shape out with a jigsaw. 3. Sand the edges. 4. Route the edges and sand again. 5. Cut out the bottom piece from 1/2" wood and attach the made in USA ball bearing swivel that is very strong. 6. Sand bottom, route and drill the hole for attaching screws 7. Prime all pieces of wood. 8. Attach the two parts together, swivel in middle. 9. Attach, then paint the design 10. Coat with 2 coats of marine Urethane 11. Coat with two part epoxy resin. Blow bubbles out with torch. (See video in shop updates) 12. Put lid on, cross fingers and toes for good luck. 13. Hope it came out nice. and we don't need to coat it again. Are they perfect? Sometimes we get lucky. 14. After it dries, we remove the drips from the back, (I call them baubles) with a grinder. 15. The bottom paint is touched up. The piece is signed and dated and wrapped up in a pizza box for shipping.
Shop Policies
I will accept returns on items that are not customized for you. Item such as a name or house number would be considered custom. You are responsible for the return shipping. I will refund when item is received at my home address. Thank you. Janet Dineen
