


About this Product
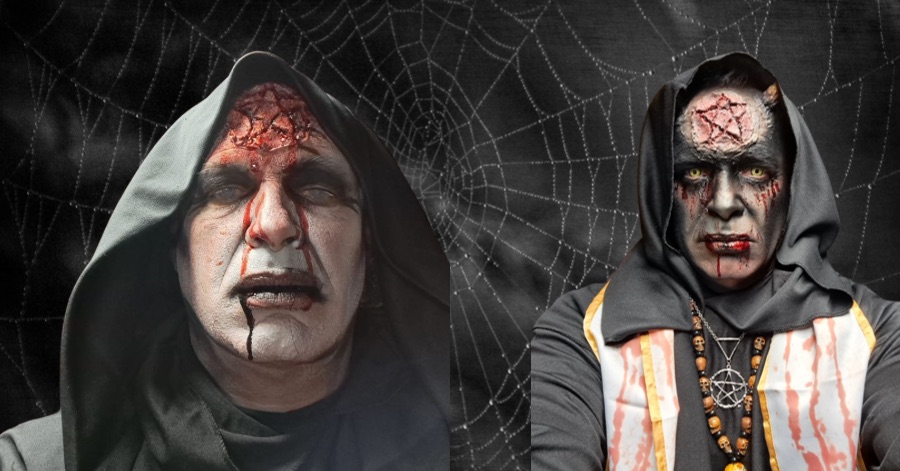
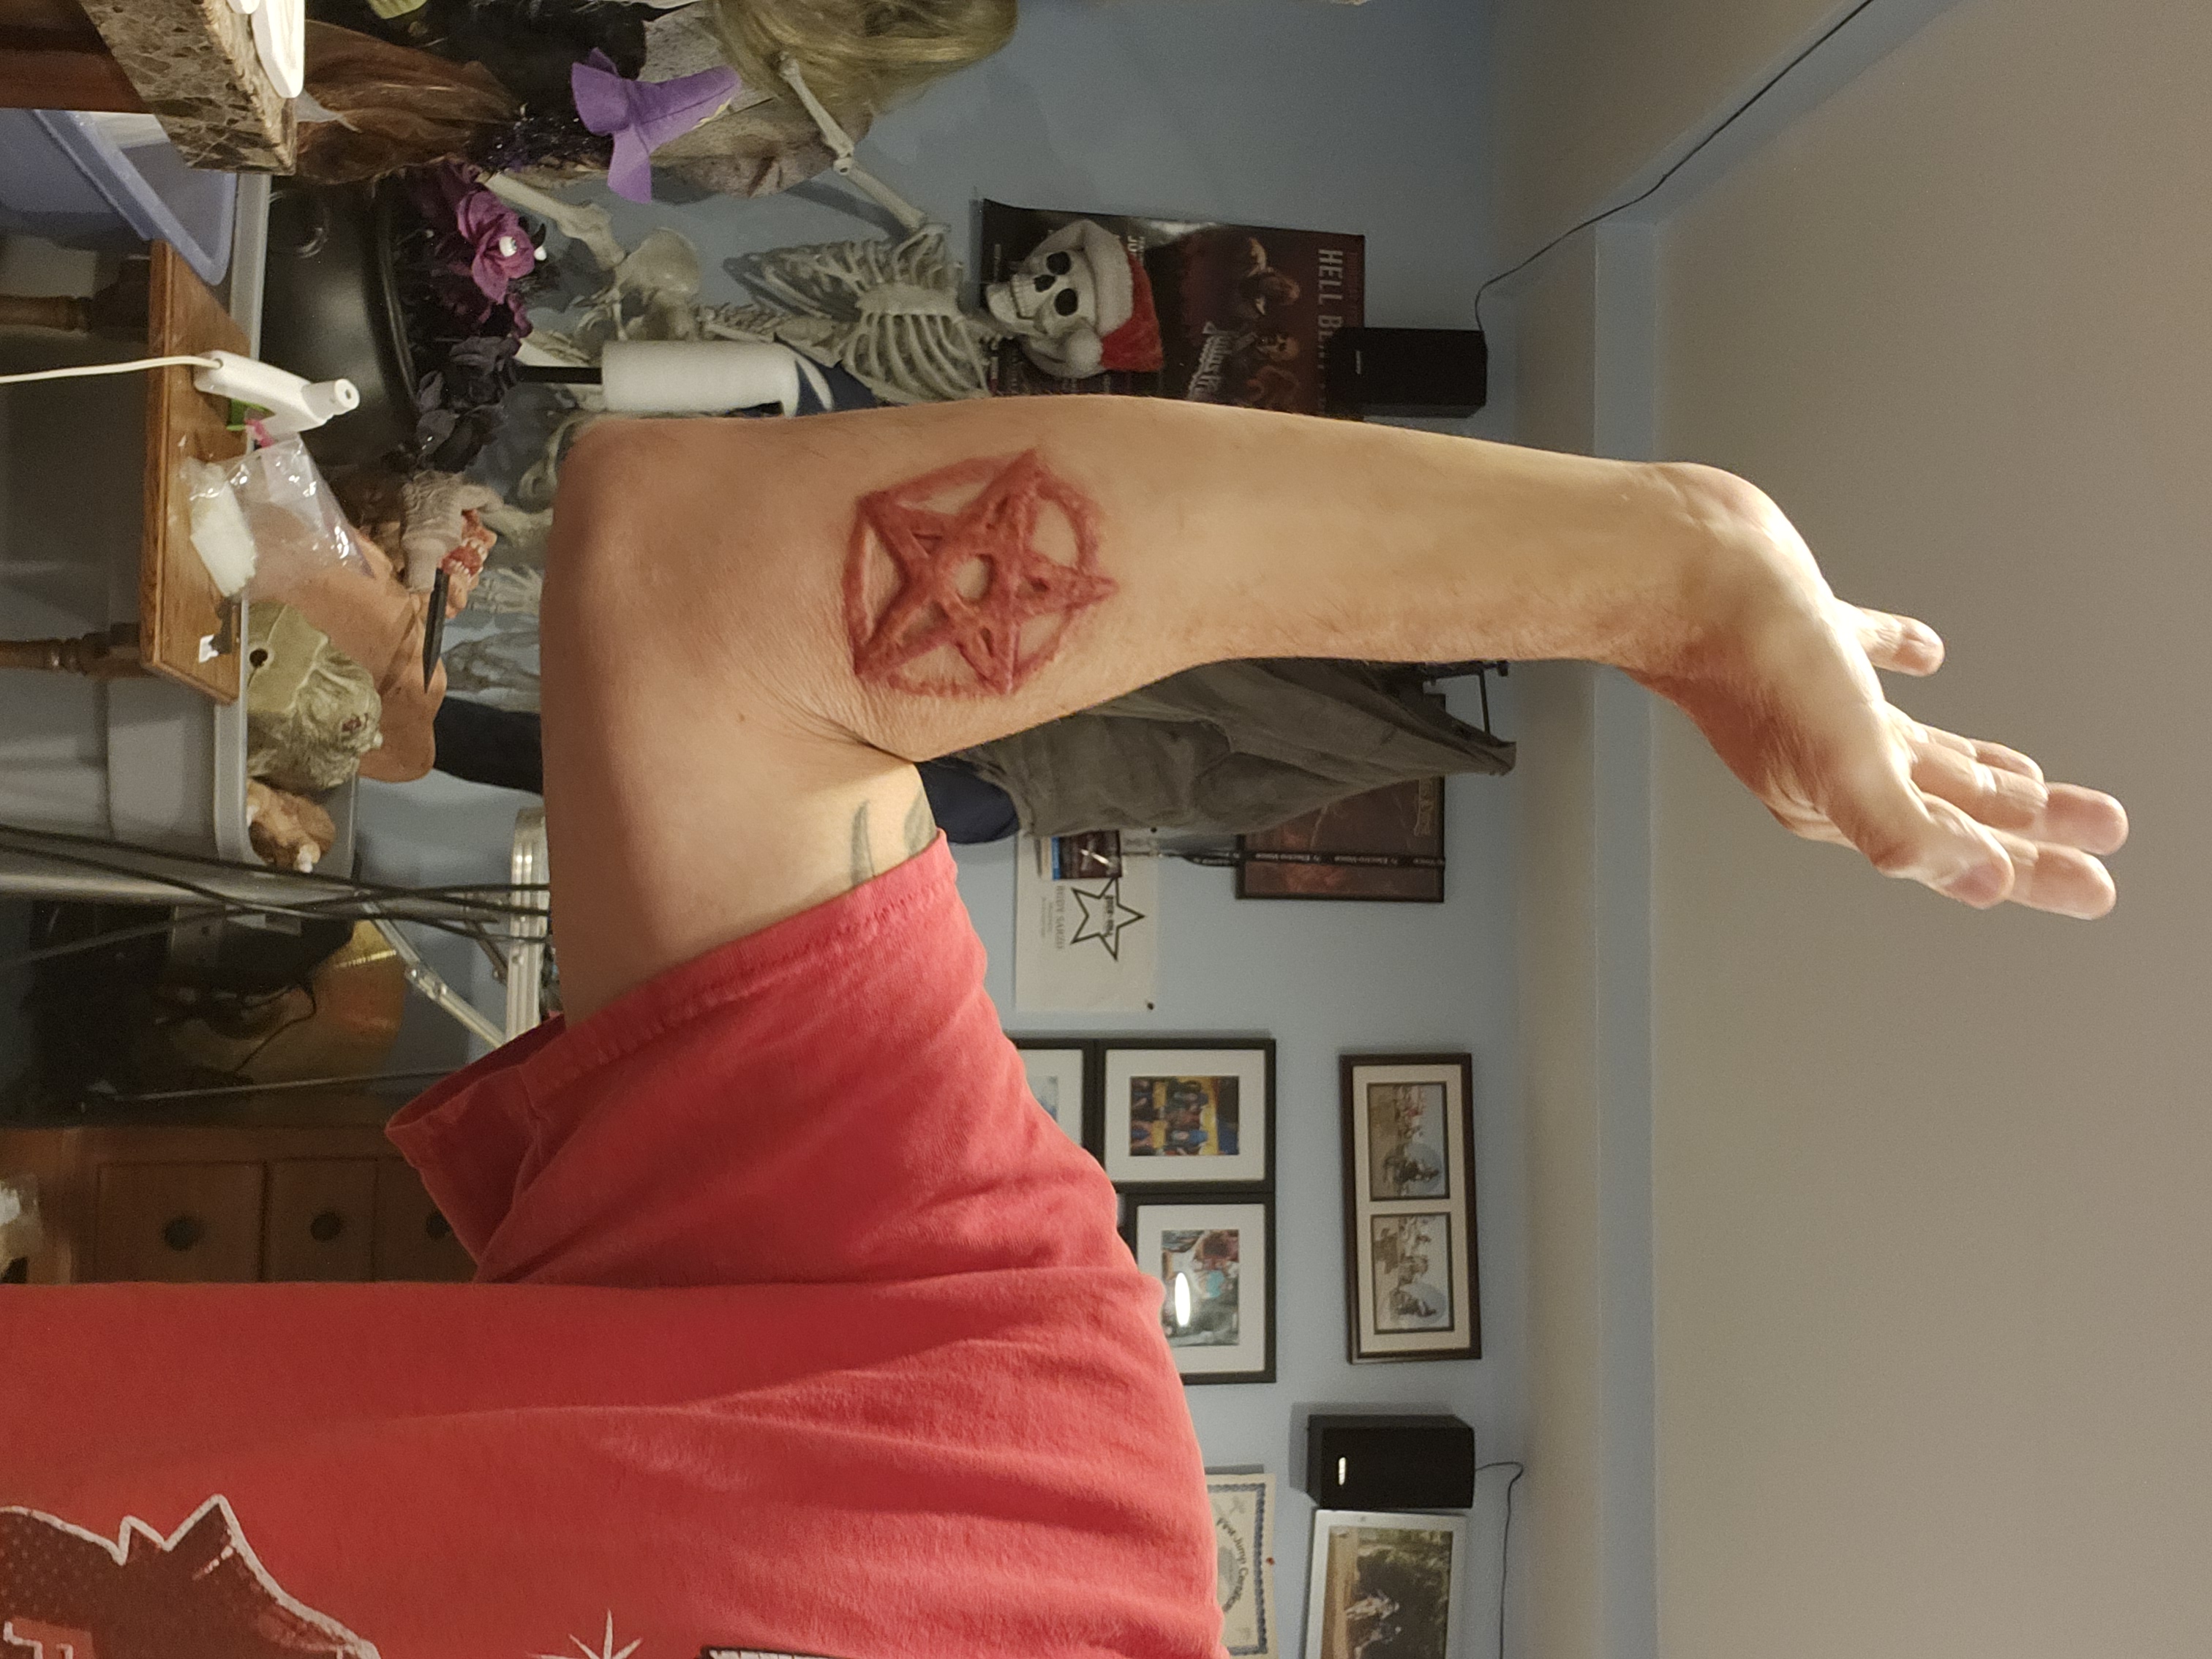
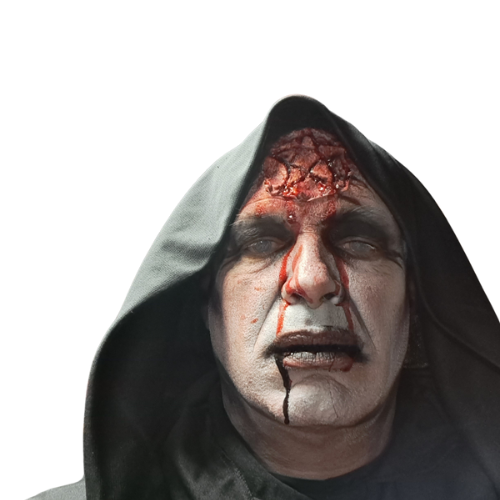
This is a Pentagram 3D transfer, also known as a 3D FX transfer or 3D prosthetic makeup appliance. It's designed to create the illusion of a realistic wound or injury directly on the skin.
This could be used for various purposes, from fantasy or Halloween costumes, theatrical productions, and haunted house actors.
This appliance is made with Pros aide. A medical grade adhesive. Flexible, and commonly used for creating prosthetic appliances due to the ease of application, realistic texture and ability to blend seamlessly with the skin.
3D transfer edges are thin and blendable for a smooth transition onto the skin. They can be applied without any glue. Although it is best to use some for extra strength. Especially if you sweat a lot.
Coloration and shading contribute to the three-dimensional effect, making it appear as if the wound is raised and embedded in the skin.
This type of prosthetic is commonly used for:
* Halloween costumes
* Special effects makeup (SFX)
* Theatrical productions
* Film and television makeup
* Cosplay
* Haunted House Actors
Hauntingly evil SFX

Meet the Maker
Hauntingly evil SFX:
Hello all,
I’m a self taught SFX creator. I just love doing it. My work space is in my basement. I really enjoy making prosthetics. They can be very time consuming and sometimes pricey, but it’s all worth it once you apply them and completely change yourself from human to monster. I started out making my own prosthetics while working at a haunted house. I wanted my characters to be as realistic, disgusting and evil as possible, without wearing a mask. I have achieved that on several occasions.
I hope that I can help you achieve that as well.
If anyone has any questions please don’t hesitate. Feel free to contact me anytime. My goal is to get back to you within 24 hours.
Thanks for visiting my shop and I hope that I can help you out with something in the very near future.
Guy
How it’s Made
Creating a Pros-Aide Transfer with a Silicone Mold:
A Step-by-Step Guide
This process involves sculpting, molding, and casting to create a prosthetic transfer.
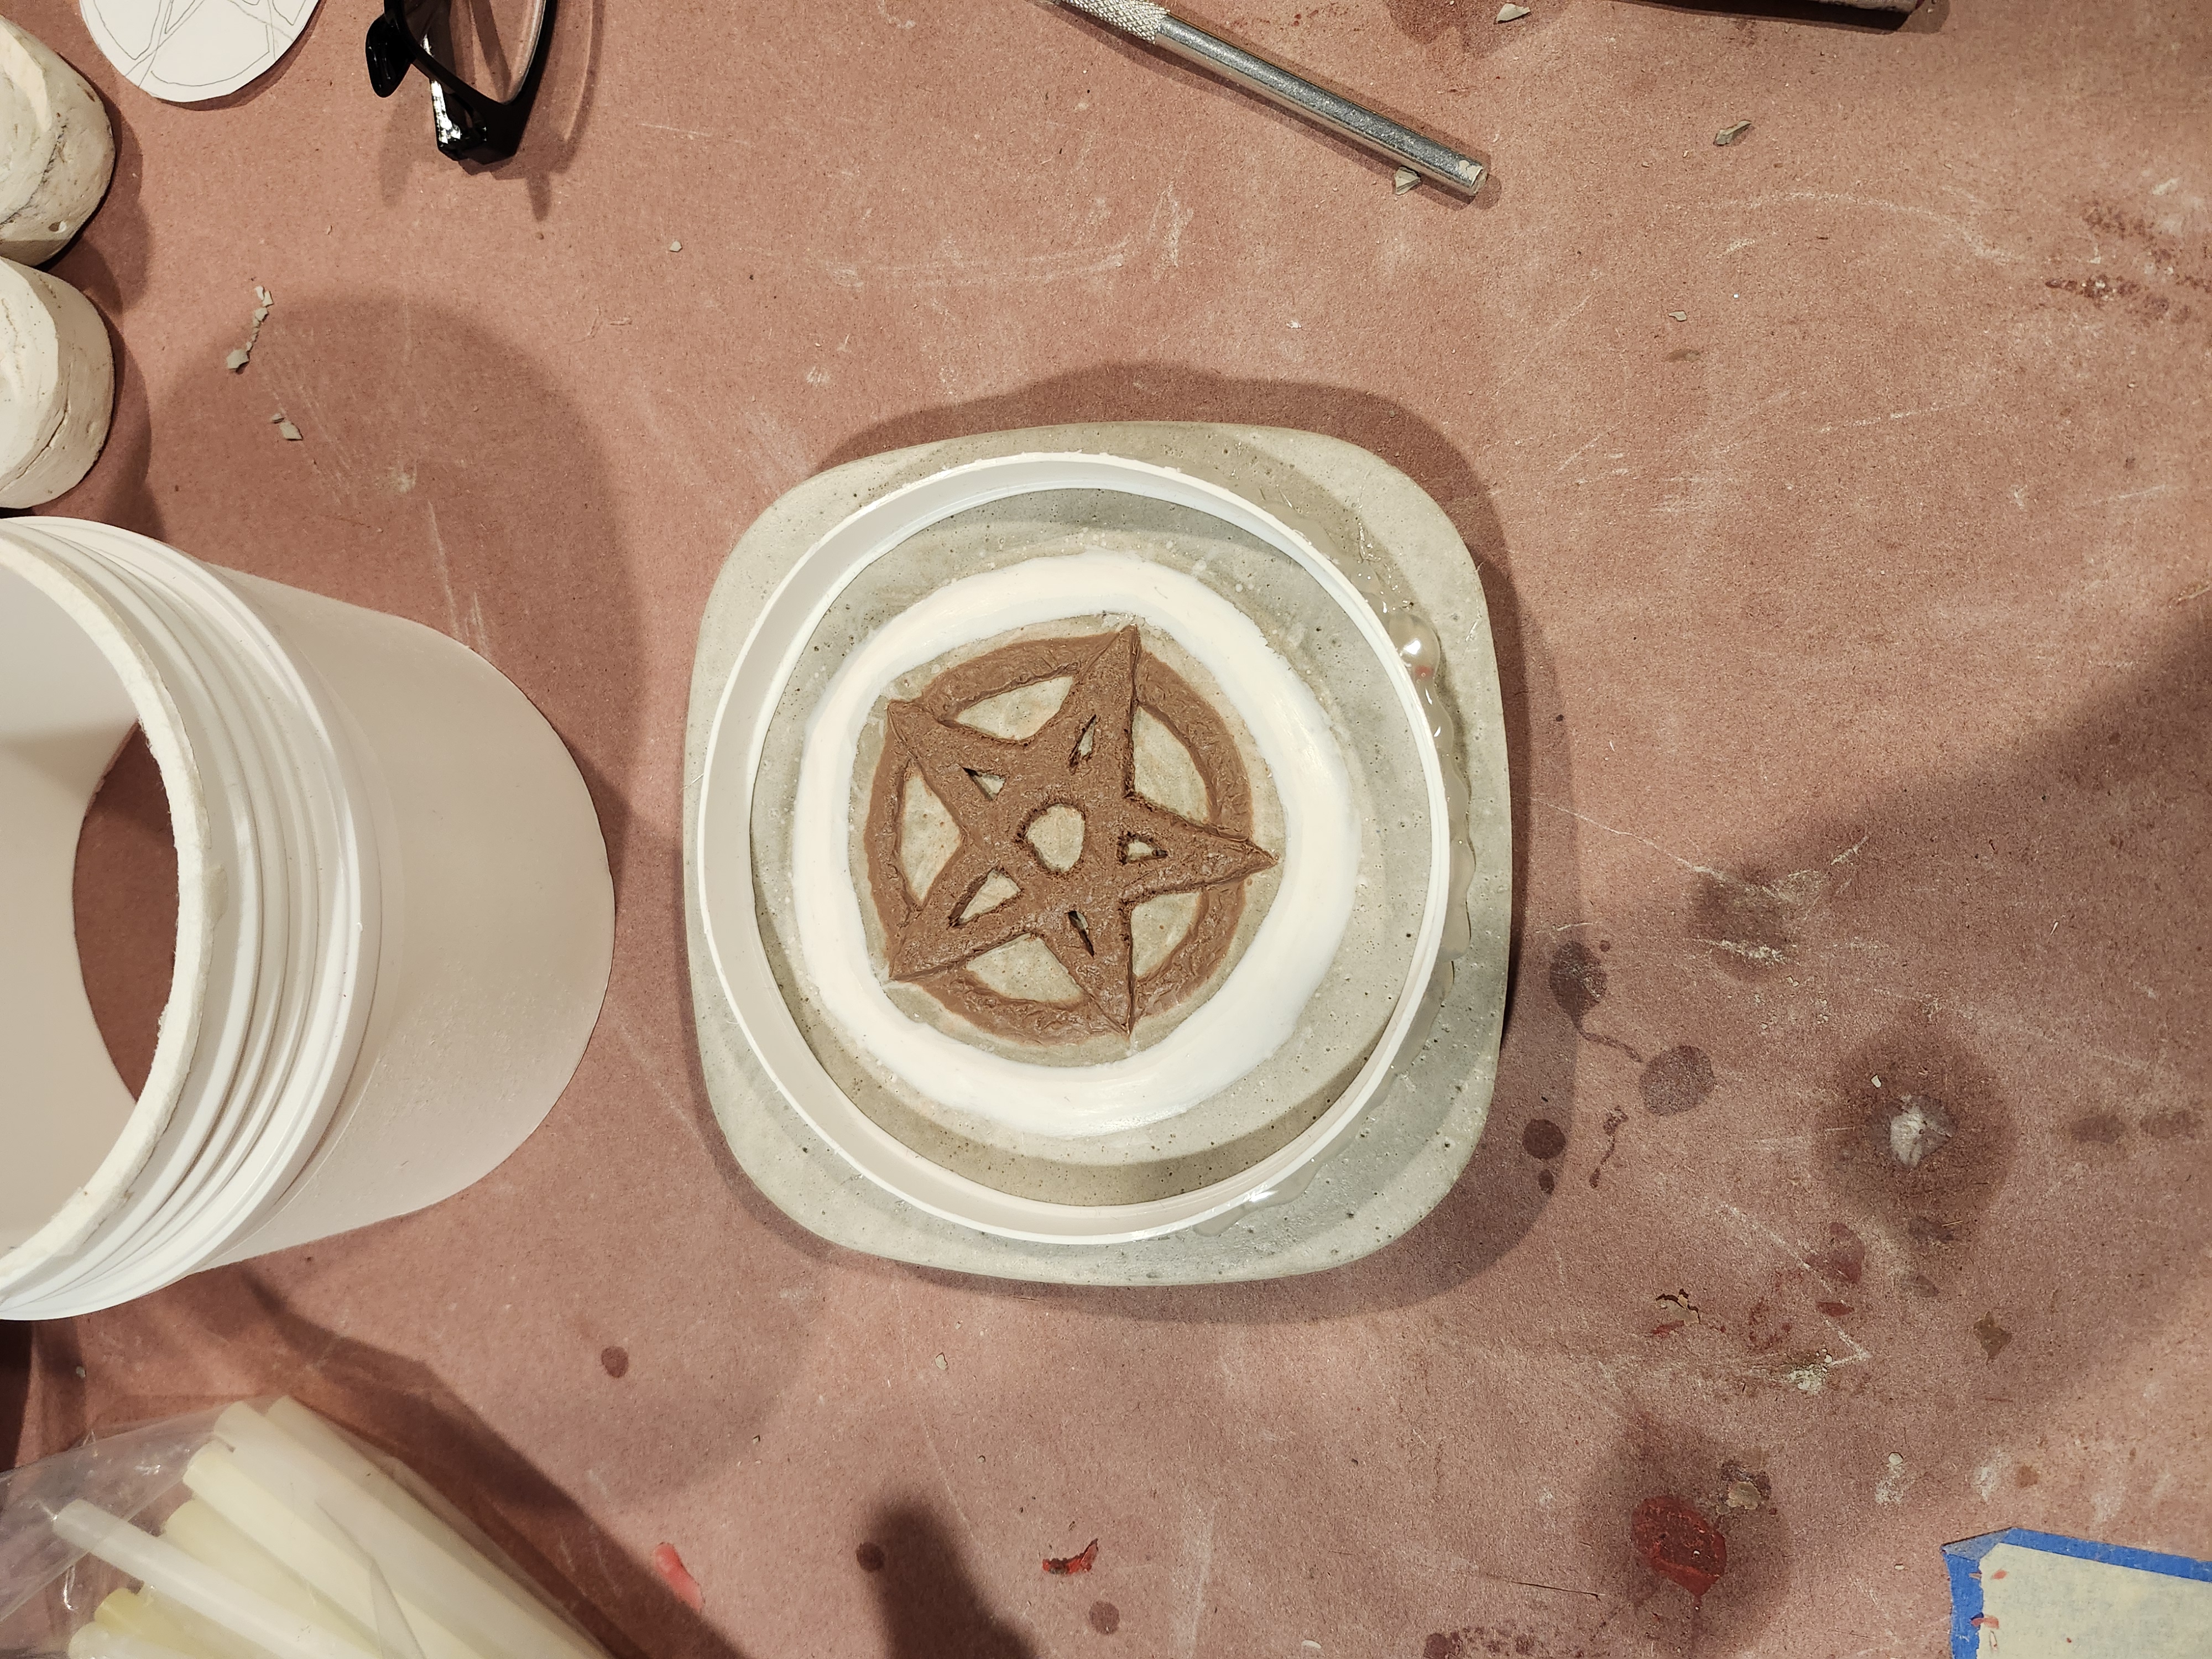
Phase 1: Sculpting
* Reference Material:
Gather reference images of the design you want. The clearer your reference, the better your sculpt.
* Base: Use a non-sulfur based clay (like Chavant NSP or Monster Clay) for sculpting. Avoid sulfur-based clays as they can inhibit silicone curing. Sculpt on a smooth, non-porous surface like glass or tile. This base should be slightly larger than your desired transfer. I make my own bases using little food storage containers. Great for storage of the sculpt and ease of making the mold.
* Sculpting: Begin roughing out the basic shape. Use sculpting tools to refine details. Consider the thickness of the final transfer; thinner areas will be more flexible. Ensure smooth transitions and no undercuts that would lock into the mold.
* Refinement: Focus on details. Texture is crucial for realism. Use tools to create pores, wrinkles, or any other surface details.
* Finishing: Once you're happy with the sculpt, smooth it out. Use a heat gun, lighter fluid or mineral spirits (for oil-based clays) and soft brushes to eliminate fingerprints and tool marks.
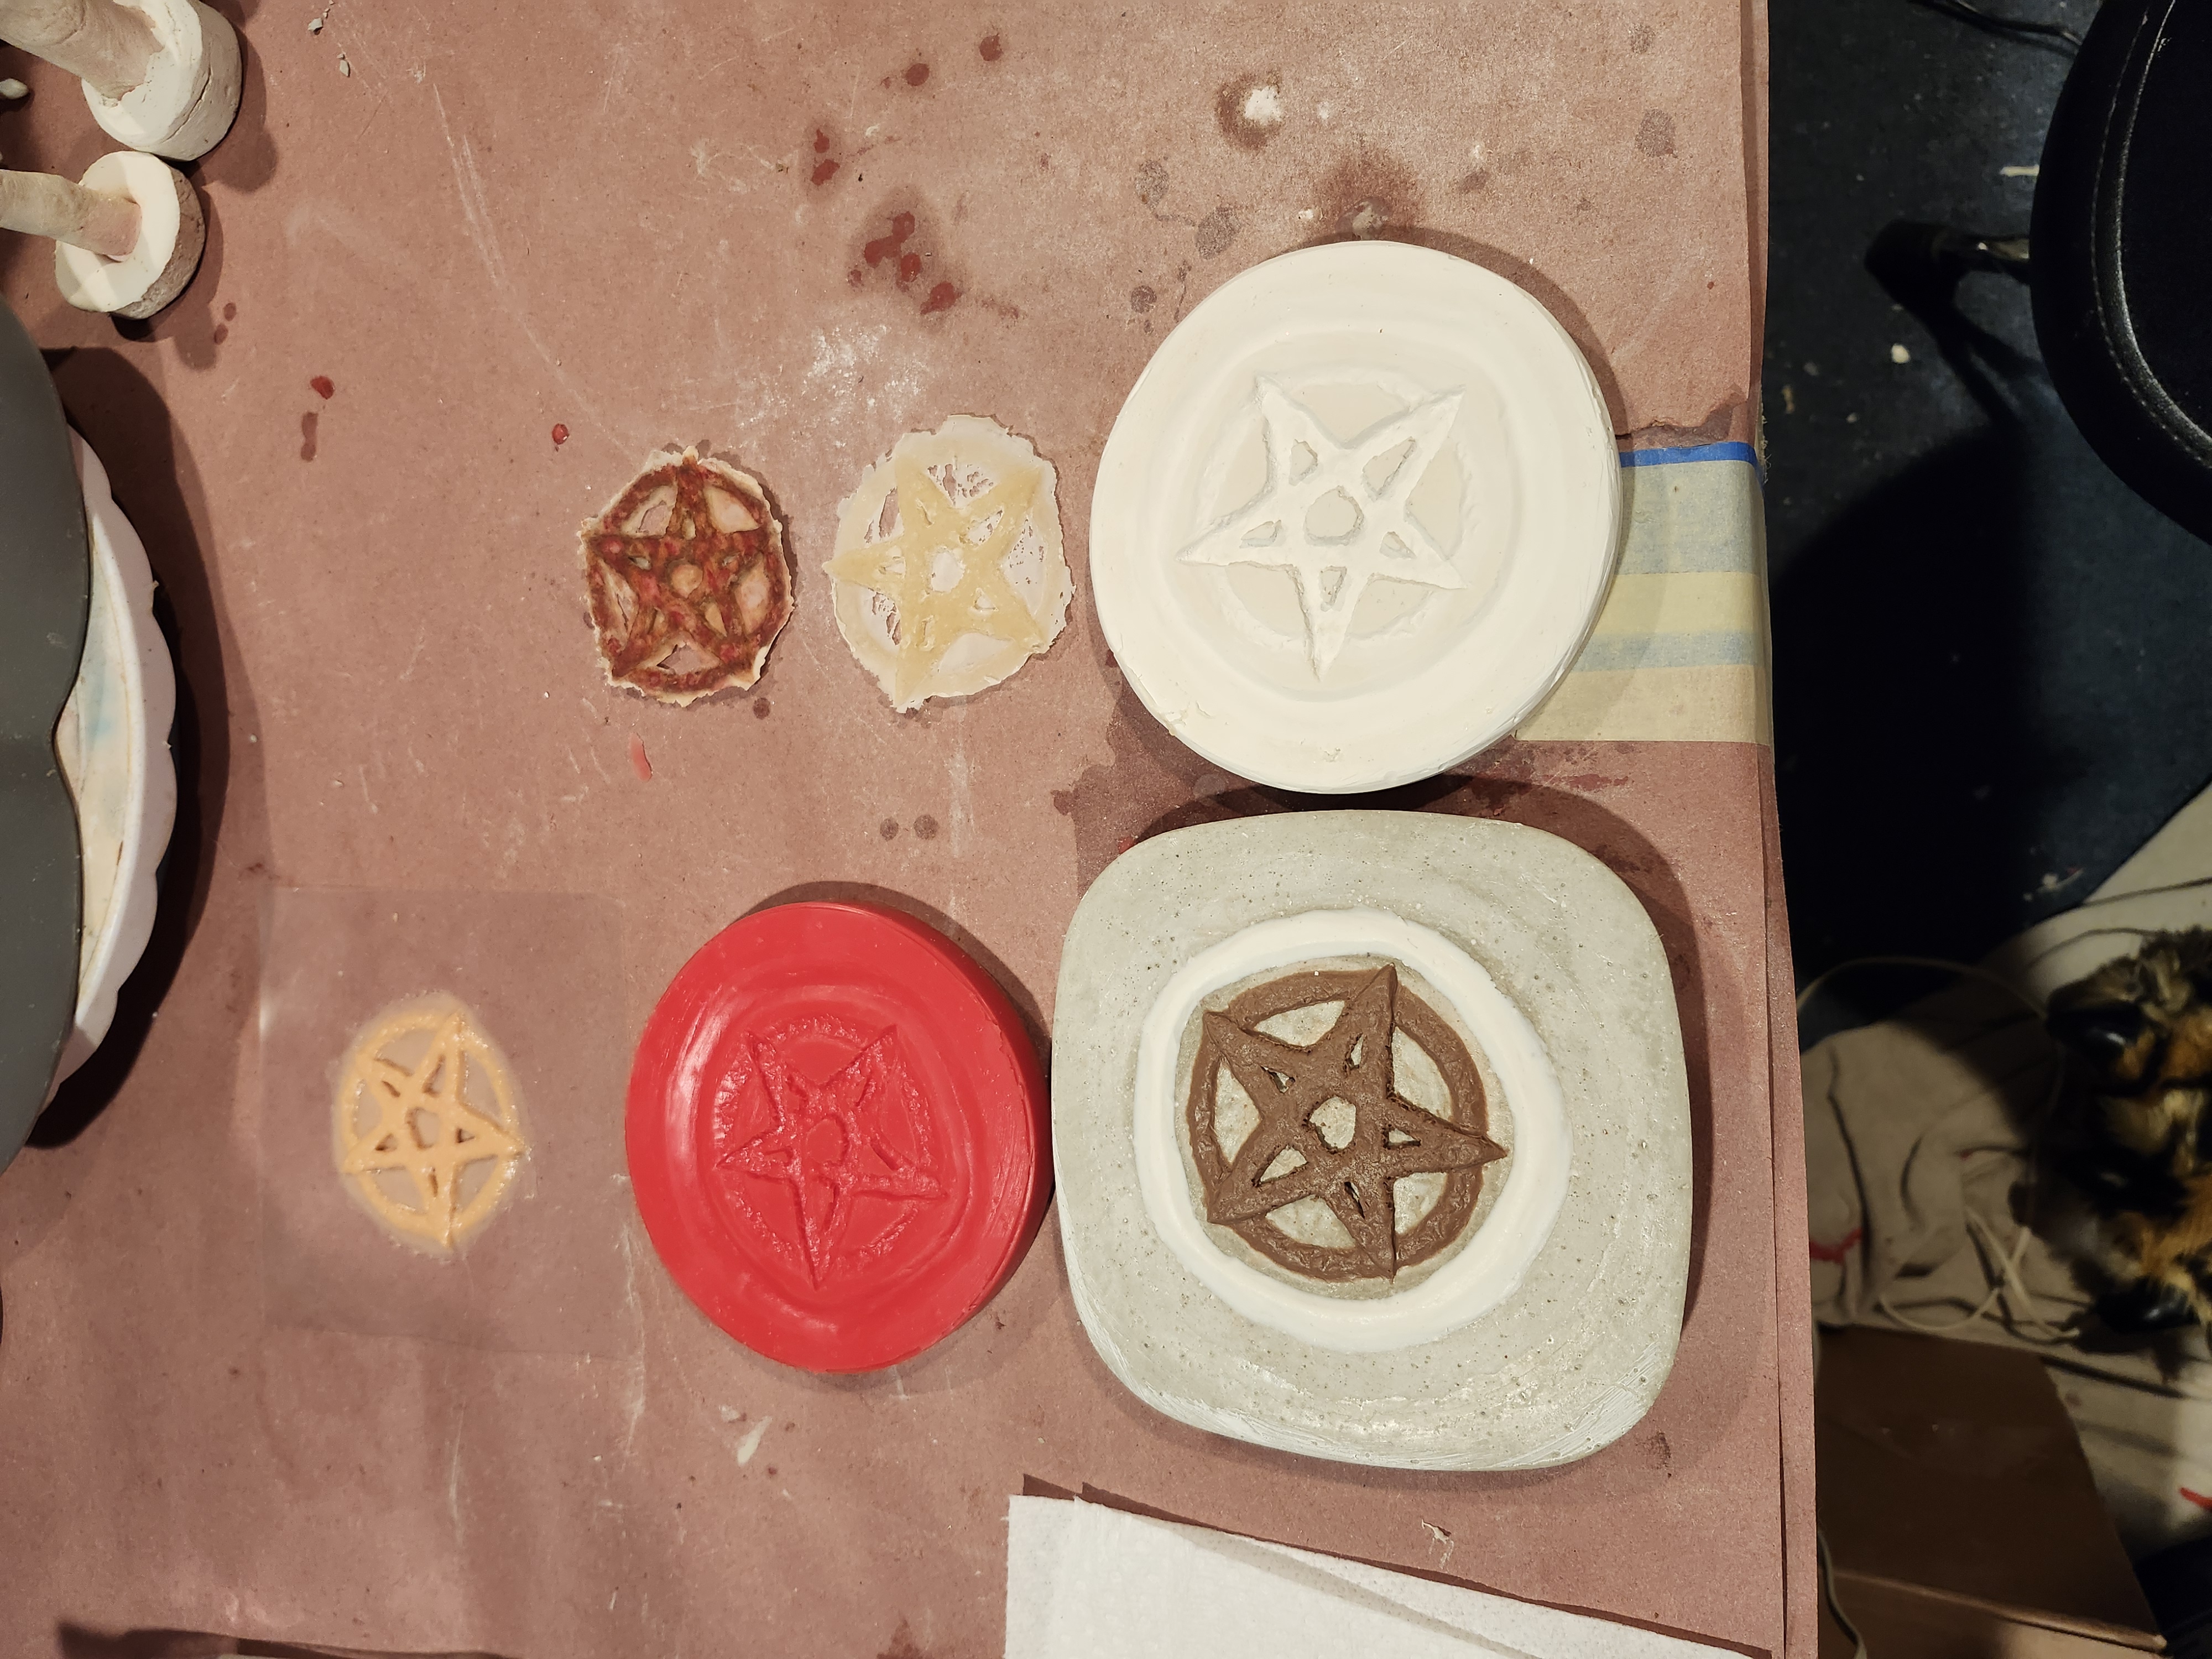
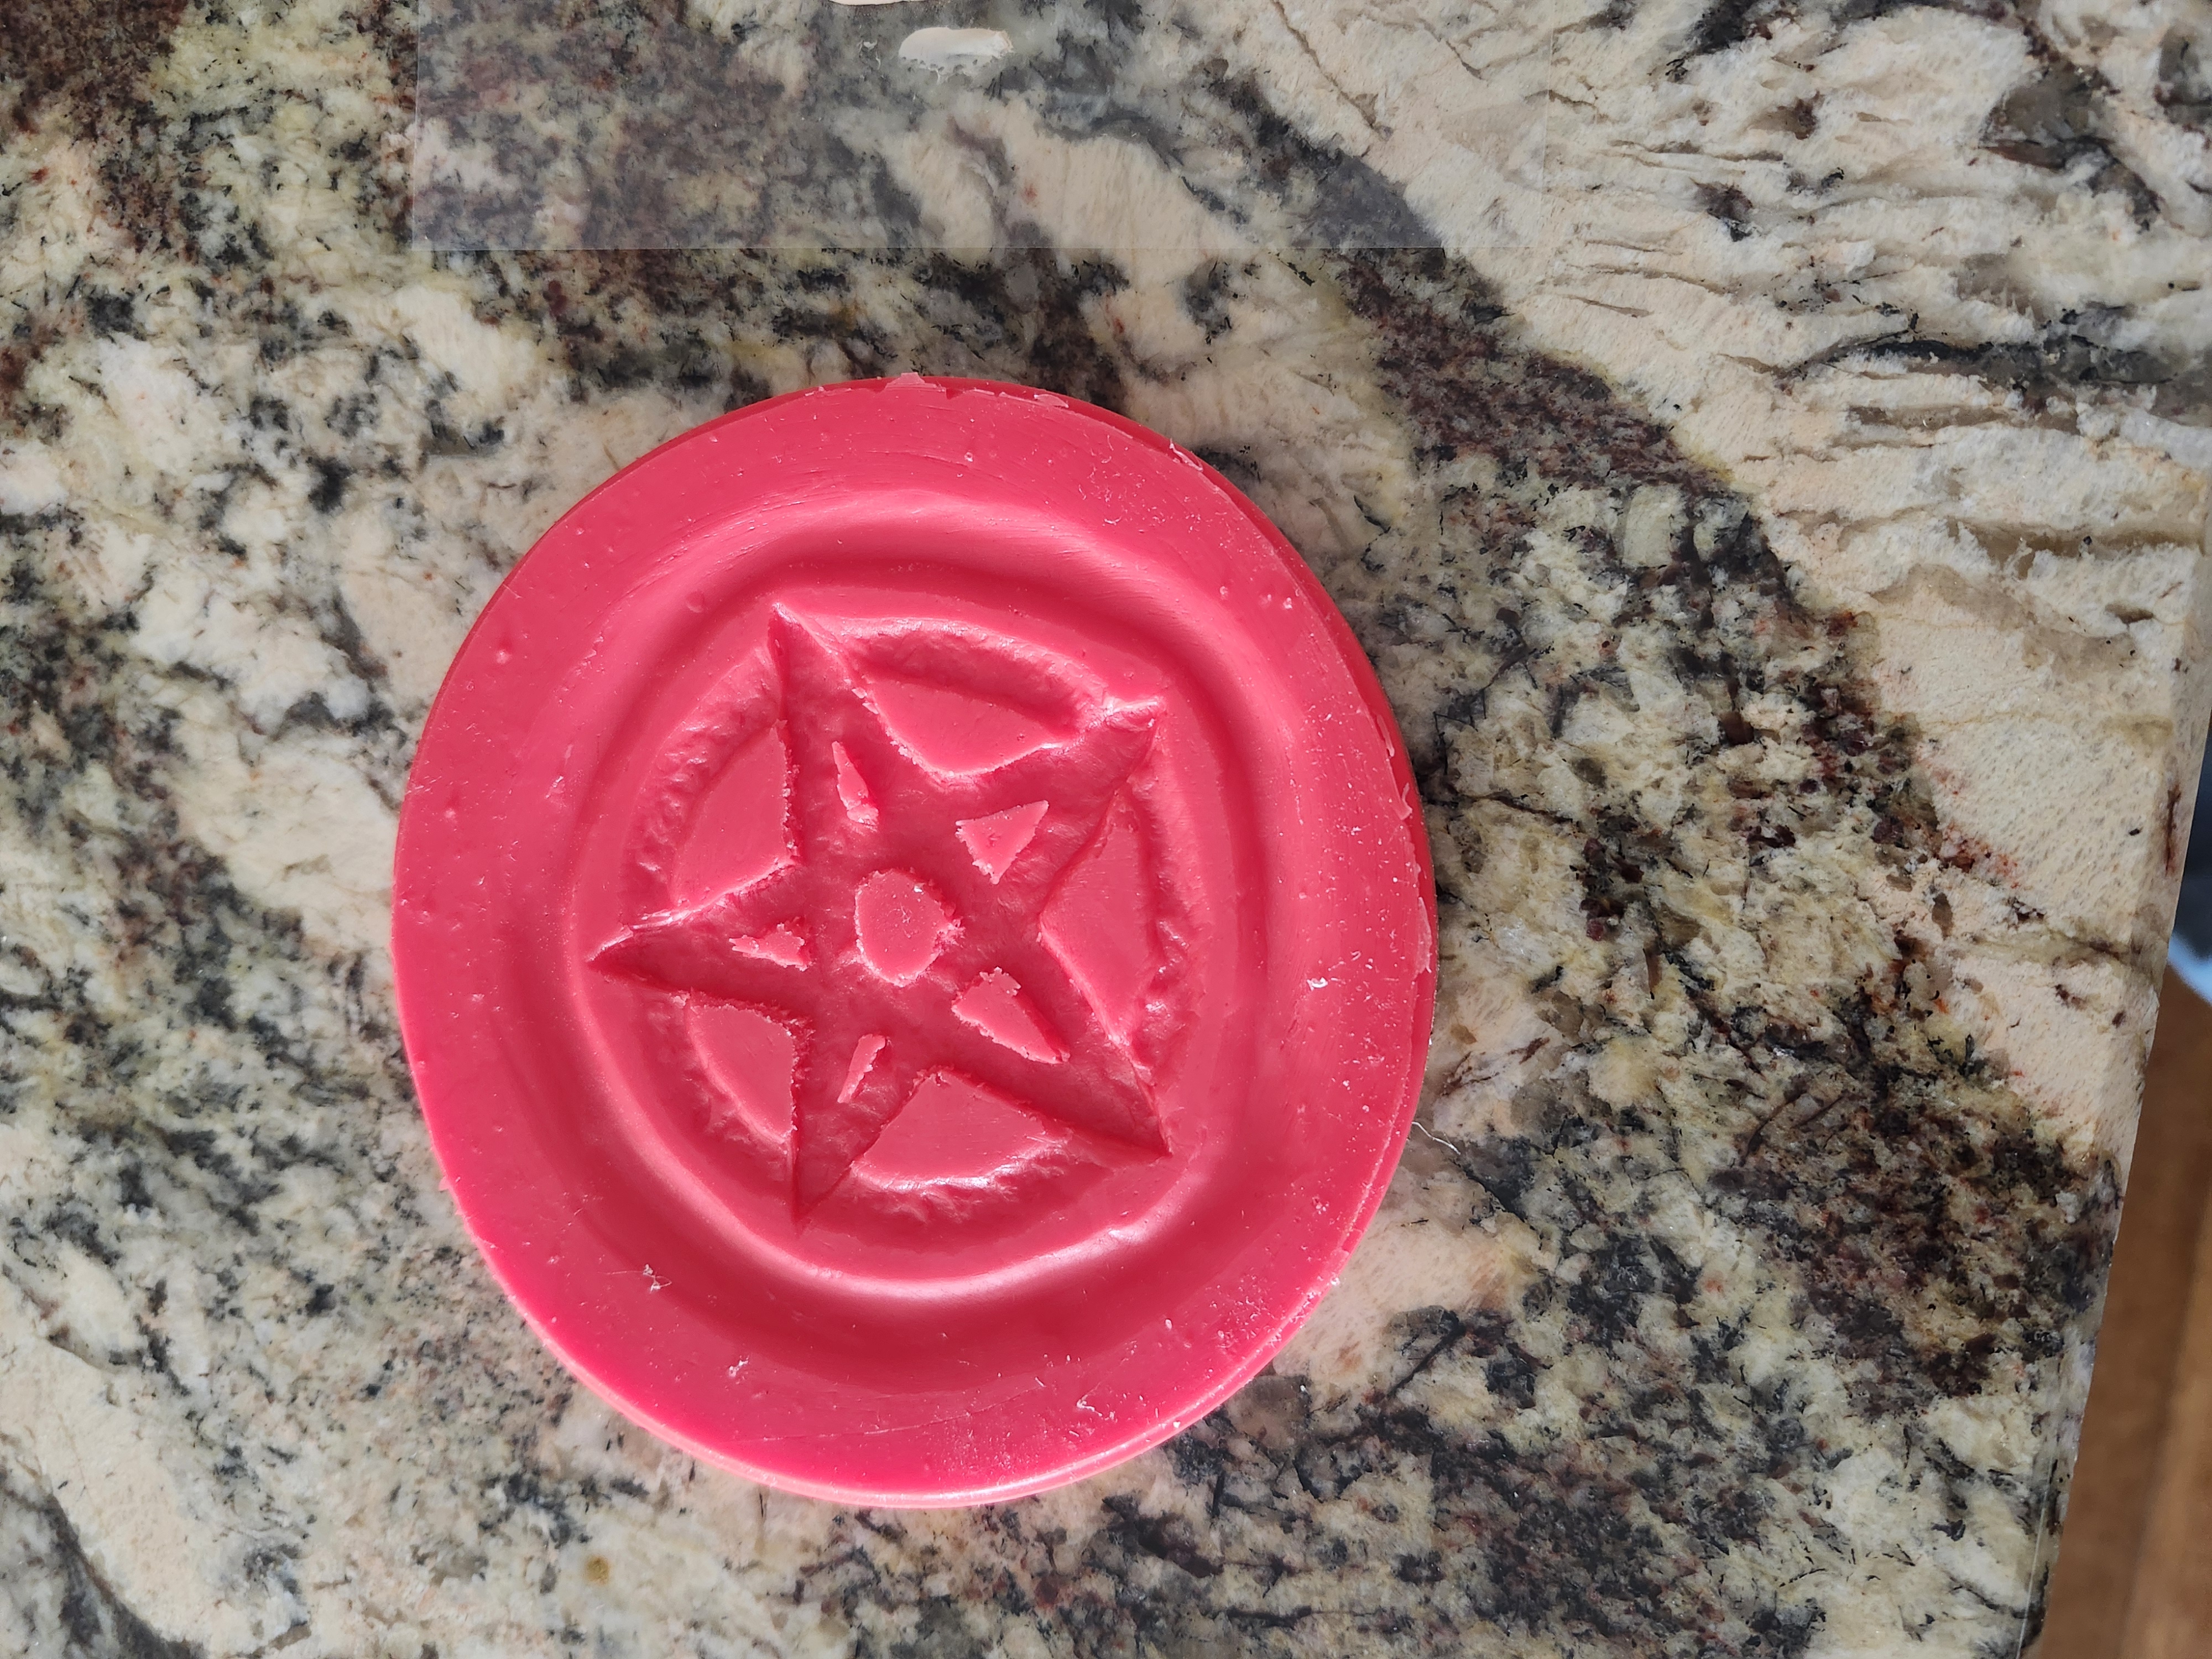
Phase 2: Molding (Silicone)
* Mold Box: Create a container slightly larger than your sculpt. You can use Lego bricks, foam core, or build a box from wood or plastic. Ensure it's sturdy and leak-proof. Or use the food storage containers. They are perfect for this.
* Silicone Preparation: Choose a platinum-cure (addition-cure) silicone for mold making. These are less prone to inhibition issues and generally produce more durable molds. Carefully measure and mix the silicone components according to the manufacturer's instructions. Degassing the silicone is highly recommended to reduce bubbles.
* Pouring the Silicone: Pour the mixed silicone slowly and carefully over the sculpt, starting from one corner and letting it flow to avoid air entrapment. Ensure the sculpt is completely covered with at least a half-inch of silicone.
* Curing: Allow the silicone to cure completely according to the manufacturer's instructions. This may take 30 minutes to several hours.
Phase 3: Casting the Pros-Aide Transfer
* Pros-Aide Preparation: Pros-Aide is a medical-grade adhesive. Mix it with a small amount of a flocking fiber (like rayon or cotton) to create a gel-like consistency. The flocking adds body and helps the transfer adhere better. You can also add a small amount of a compatible pigment to tint the Pros-Aide slightly.
* Applying Pros-Aide: Apply a thin, even layer of the Pros-Aide mixture to the inside of the silicone mold cavity (the side that was against the sculpt). Put clear transfer paper over the sculpt. Use a small squeegee or popsicle stick to smooth put the prosaide mixture. Once you have it smoothed out it's time to put it in the freezer.
The transfer must be frozen and defrosted 3x before removing from the mold.
This process can take a while depending on the thickness of the appliance.
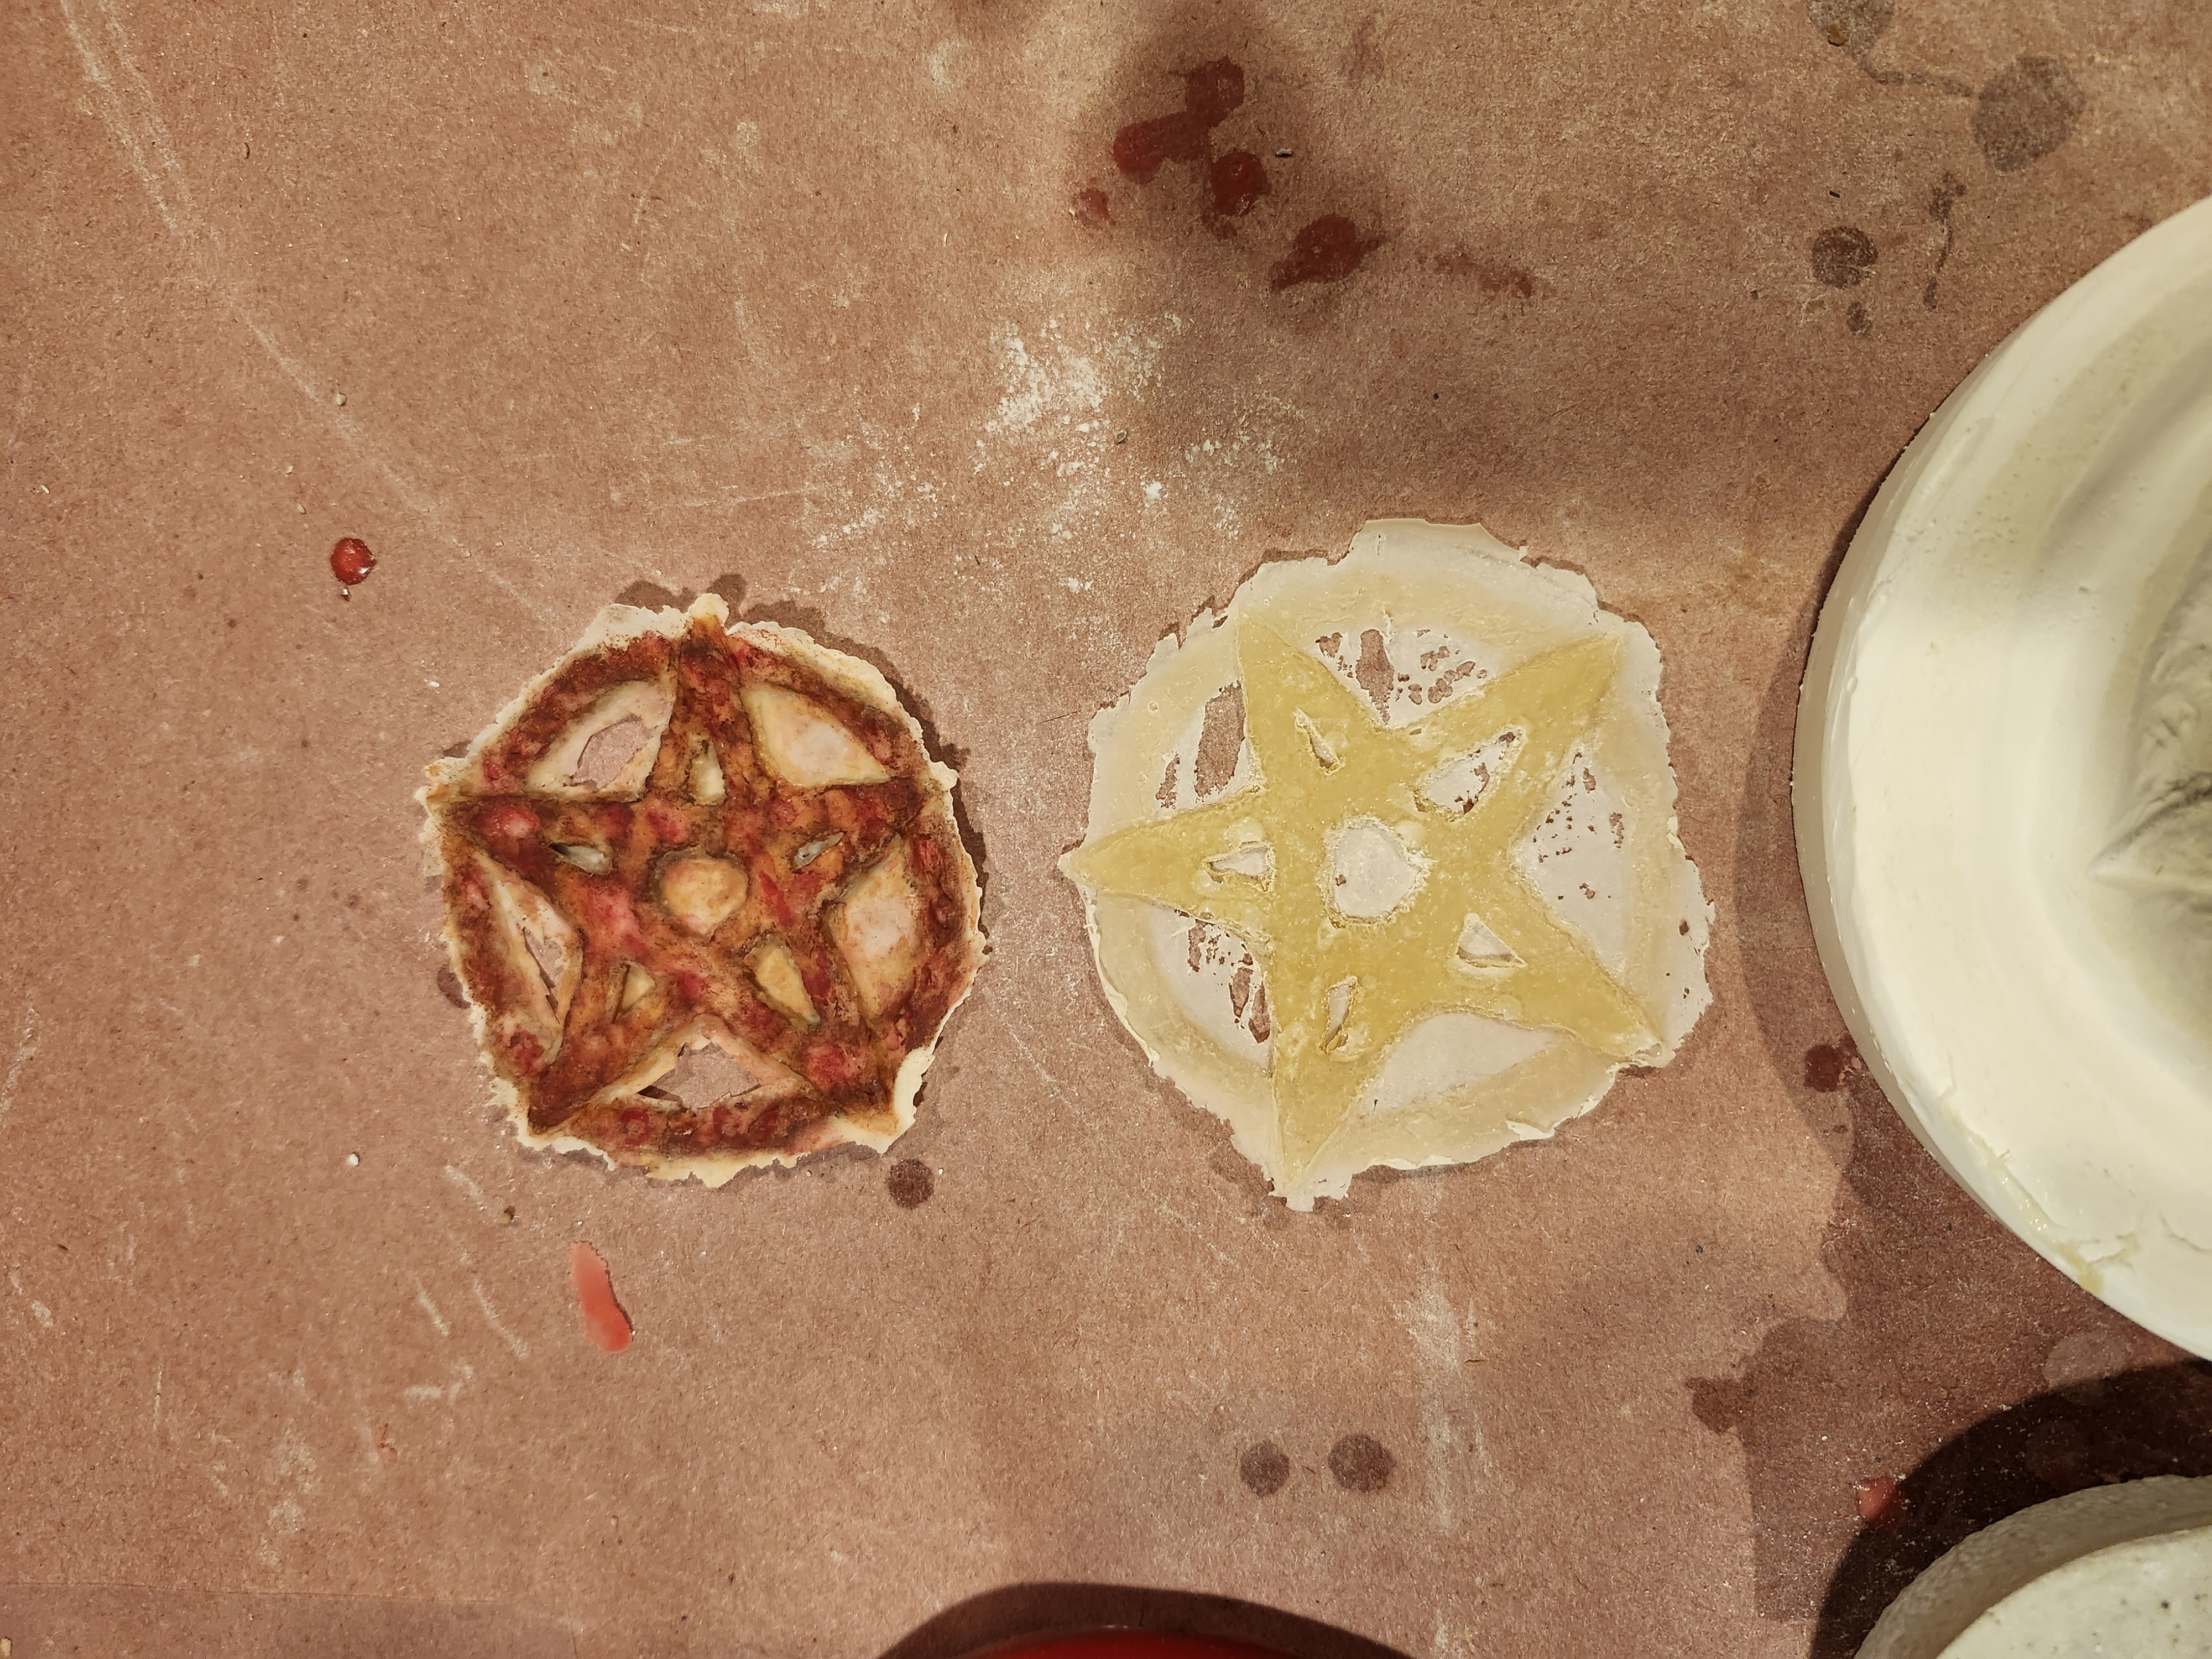
* Removing the Transfer:
Lay the mold flat with the transfer paper on the table. Roll the silicone mold up releasing the pros aide from the mold. It sticks to the transfer film. Very important, the transfer must be frozen for this to work well.
Let the appliance dry for 3 or so days. Again depending on the size of the appliance.
Once it is dry you should cover it with transfer paper. This will seal everything and allow you to easily transfer the appliance on to your skin using just water.
Application:
To apply the transfer, position it on the skin and gently press it into place. Wet the transfer paper using a makeup sponge or paper towel. The Pros-Aide will adhere to the skin. You can then blend the edges with isopropyl alcohol. 99% is best. 91% works, for a seamless look.
Then it's time to add your makeup for a great new character.


